Private Label, White Label, Wholesale partnerships available - EU, USA and UK - Free shipping from €75

How to Reconstitute Peptides: Step-by-Step Guide
You've got the vial on the bench, the diluent is ready, and the experiment waiting behind it depends on one thing going right. That moment is where peptide work either stays clean and controlled or starts drifting into avoidable error. How to reconstitute peptides is not just a mixing task, it's a formulation step that decides whether the material stays viable long enough to support the work that follows.
A clear solution can still be the wrong solution if the solvent, handling, or storage choice doesn't match the compound. That's why the practical question is never only “did it dissolve?” but also “is it still fit for use after dissolution?” The difference shows up later in assay consistency, repeatability, and how much confidence a lab can place in the result.
Table of Contents
- Why Precision in Peptide Reconstitution Matters
- Your Pre-Reconstitution Checklist
- The Aseptic Reconstitution Protocol
- Handling Difficult-to-Dissolve Peptides
- Post-Reconstitution Storage and Stability
- Troubleshooting and Research Compliance Notes
Why Precision in Peptide Reconstitution Matters
A failed readout rarely points straight back to reconstitution, but that's often where the problem starts. A peptide can be dissolved, visible, and still underperform because the workflow introduced stress, contamination risk, or the wrong solvent choice. In lab practice, the transition from lyophilized powder to aqueous solution is the point where the material becomes much more vulnerable, and that change matters for data integrity.
Reconstitution is a control point, not a clerical step
The dry form is generally much more stable than the mixed solution, which is why guidance consistently favors keeping peptides lyophilized until needed and then treating the reconstituted sample as a short-life solution stored cold at 2–8°C for short-term use, with –20°C or below often used for longer storage (RiteAid peptide guide, Polaris Peptides lab guide). That convention exists for a reason. Once liquid is added, the handling environment becomes part of the formulation.
Practical rule: if the peptide left powder form and the protocol stopped there, the workflow was incomplete.
That perspective changes how the vial should be treated. A clear solution is only one checkpoint. The core issue is whether the peptide stayed chemically and physically intact long enough to be useful for the intended experiment.
Why the same vial can behave differently in different hands
Two users can receive the same peptide and still get different outcomes if one uses a rough mixing technique, the wrong diluent, or poor temperature control. Gentle handling, solvent selection, and cold storage all influence what the dissolved material looks like later and how well it performs. The literature also reinforces that repeated freeze–thaw cycles are a problem because they accelerate degradation, which is why aliquoting becomes part of good preservation practice (Polaris Peptides lab guide).
That's the primary risk in peptide prep. A protocol can look correct on the bench and still fail at the level that matters, the level where the experiment needs a reliable, intact reagent.
Your Pre-Reconstitution Checklist
A clean reconstitution starts before the first stopper is swabbed. The most common failure isn't an advanced chemistry problem, it's a preparation problem, where the wrong diluent, a missing sterile tool, or an unreviewed product note creates avoidable uncertainty. Treat the bench like a pre-flight cockpit, because once liquid enters the vial, every later correction gets harder.
Gather the right materials first
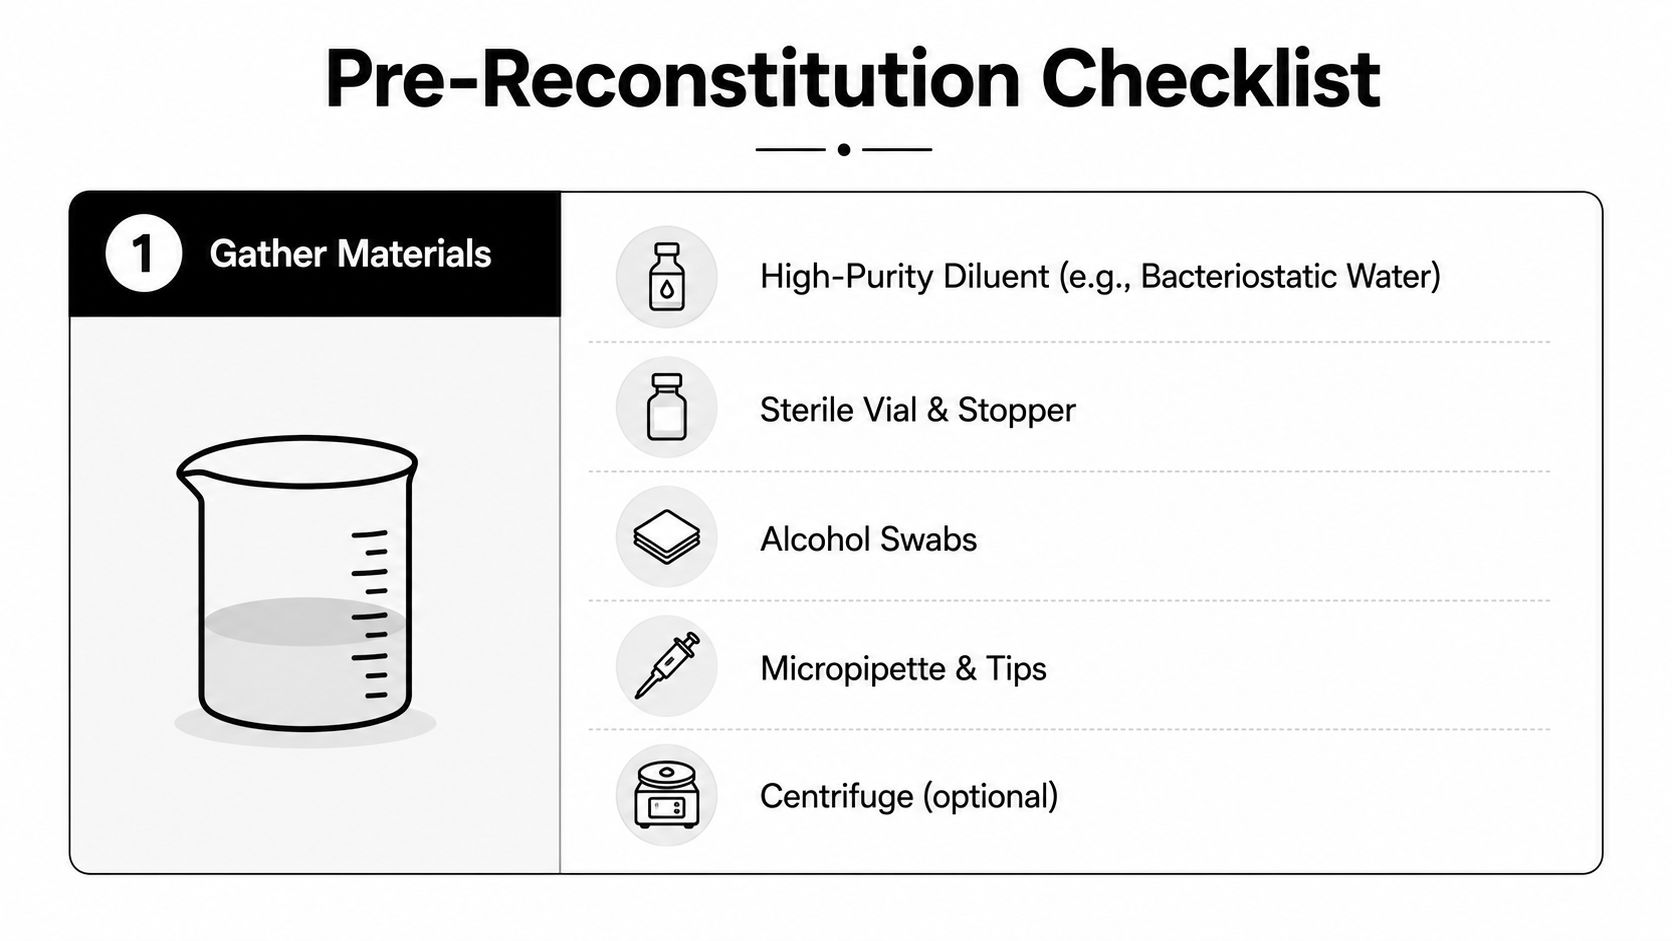
The baseline kit should include sterile syringes or micropipettes, sterile tips, alcohol swabs, a clean vial, and the chosen diluent. If a protocol calls for bacteriostatic water, that choice is usually about preserving the solution during refrigerated handling, not just about making the powder disappear. For a packaged example of a reconstitution-ready solvent, the product page at Herbilabs reconstitution solution shows how this category is typically presented for research workflows.
Practical rule: the purity of the liquid matters as much as the cleanliness of the glass.
A sterile work surface and a calm, uncluttered setup matter too. A rushed bench invites mistakes such as touching stoppers after disinfection, using the wrong tip size, or drawing up more liquid than needed.
Read the COA before choosing a solvent
The Certificate of Analysis is not a formality. It should be checked for peptide identity, content, and any handling notes that affect dilution or storage. That matters because the right diluent depends on the compound and the intended use, not on habit alone. Some workflows favor bacteriostatic water, while others need a different solvent or a more controlled sterile approach depending on downstream research requirements.
A more careful interpretation of peptide prep is essential. A solution can look acceptable and still be wrong for the experiment if the solvent doesn't match the peptide's chemistry or the assay's sensitivity.
Match the workflow to the material
When the protocol is being built, the decision tree should stay simple:
- Confirm product identity: Verify the peptide name, lot, and any special handling notes on the COA.
- Check intended use: Align the solvent choice with the experimental plan, not just with convenience.
- Choose sterile tools: Use clean, appropriate syringes, vials, and filters when the workflow requires them.
- Prepare for cold handling: Have refrigeration ready before opening the vial.
The article at what is aseptic technique is useful background for the sterile handling mindset that should already be in place before mixing begins. When the preparation is right, the actual reconstitution becomes a controlled transfer, not a gamble.
The Aseptic Reconstitution Protocol
The safest protocol is the one that respects the peptide as a fragile formulation, not a powder that can be handled casually. Sterility, slow addition, and gentle motion all serve the same purpose, which is to reduce mechanical stress while limiting contamination. That's why the standard workflow is built around deliberate, low-force steps rather than speed.
Start with disinfection and temperature awareness
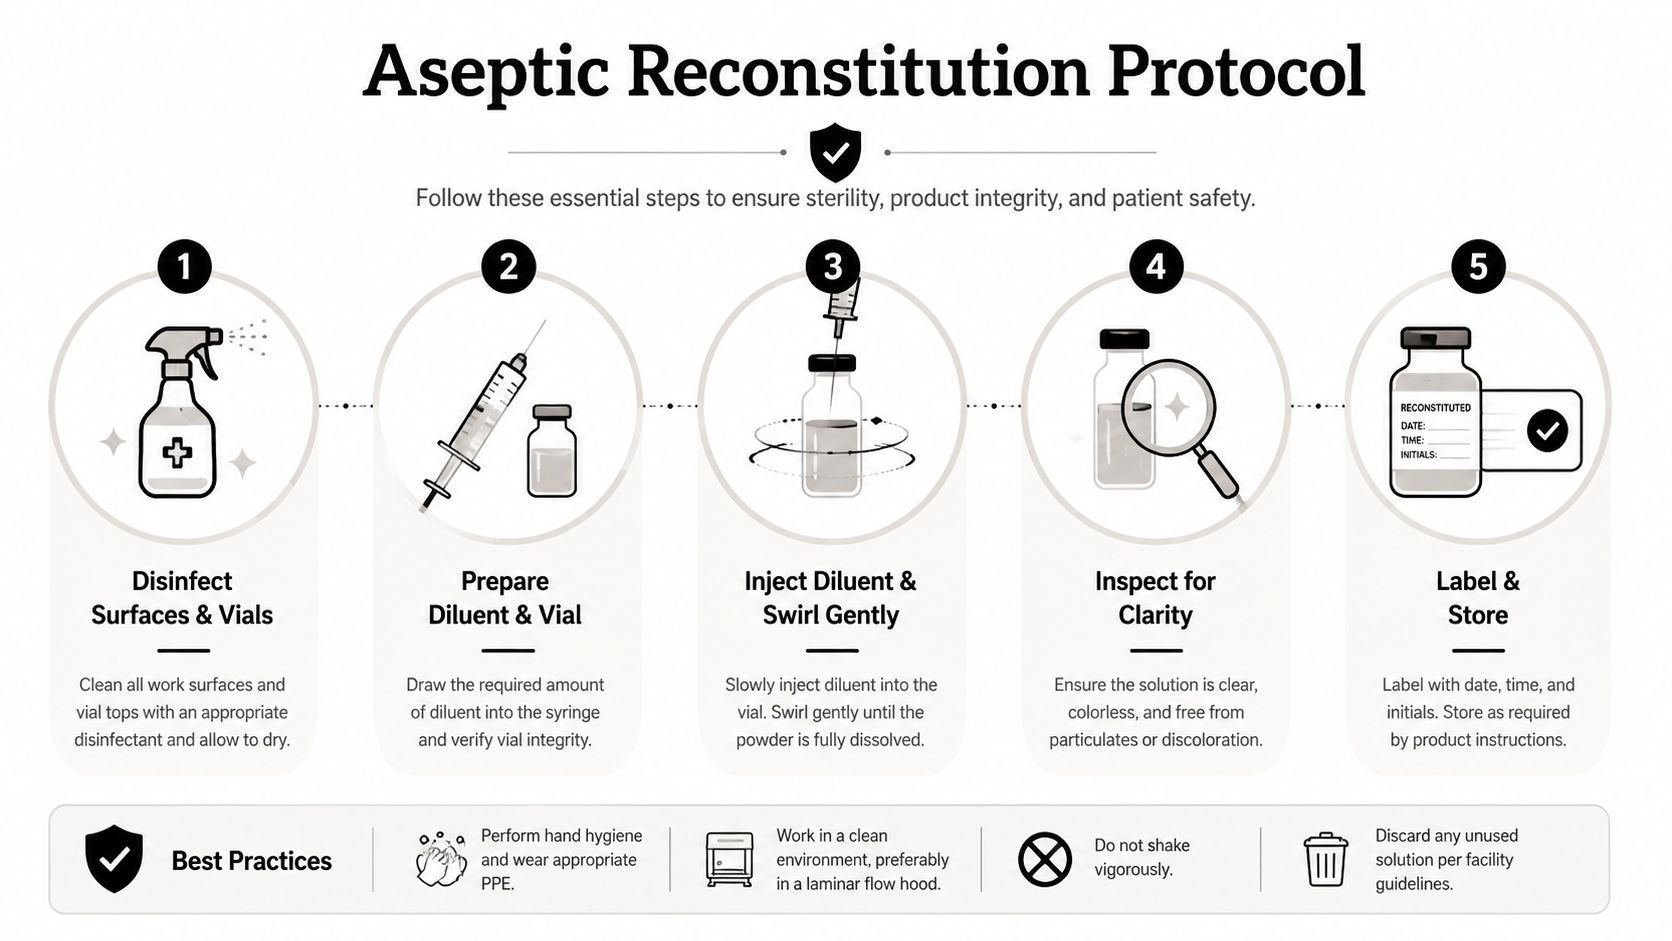
The vial stoppers and any tools that will touch the system should be disinfected first and allowed to dry. That reduces the chance of carrying contaminants into a solution that may sit in storage for days or weeks. Several guides also recommend bringing both peptide and diluent toward room temperature before mixing to lower the risk of precipitation or incomplete dissolution (Peptide Regenesis guide).
Room temperature here is about control, not comfort. A cold vial plus cold liquid can create condensation and poor mixing behavior, which makes the powder harder to wet evenly.
Add the diluent slowly down the wall
The most important physical step is the way the liquid enters the vial. The diluent should run down the inner glass wall instead of hitting the powder directly, because direct jetting increases foaming, clumping, and mechanical stress on the material (Peptide Regenesis guide). Slow addition is part of preserving the structure of the peptide, not just dissolving it.
A useful way to think about the step is this:
- Swab, then dry: Remove surface contamination before puncturing.
- Aim at the wall: Let the liquid flow gently along the glass.
- Move slowly: A careful injection is a controlled transfer, not a push.
- Avoid impact: Don't force the stream straight onto the lyophilized cake.
For a concrete protocol example, the step-by-step approach in how to reconstitute AOD 9604 shows how this slow-wall technique is applied in a peptide-specific context.
Do not shake the vial to “help” the powder disappear. Swirling and rolling are safer because they preserve the solution without adding unnecessary mechanical stress.
Calculate volume before the vial is opened
The final concentration should be planned in advance so the diluent volume matches the intended use. That keeps the workflow repeatable and helps avoid unnecessary rehandling. If the target concentration is known, the required diluent volume can be set before the stopper is punctured, which reduces error and keeps the procedure cleaner.
The practical value is simple. A prepared operator is less likely to add too little liquid, overfill the vial, or keep adjusting the concentration after the peptide has already been exposed.
Let clarity be the final check
Once the liquid is in, the solution should be left to dissolve passively with only gentle swirling or rolling. Many peptides dissolve within minutes, but stubborn residues sometimes need 15 to 30 minutes of undisturbed incubation before reassessment (Peptide Regenesis guide). The correct endpoint is a clear solution without visible particulate matter.
The final movement is restraint. The vial that has been handled the least is often the vial that performs the most reliably later.
Handling Difficult-to-Dissolve Peptides
Some peptides dissolve easily and behave exactly as expected. Others resist the first pass, especially if they're hydrophobic, highly structured, or formulated in a way that makes wetting slower. The mistake many operators make is jumping too fast to aggressive handling, when the safer fix is usually a layered one.
Start with time before force
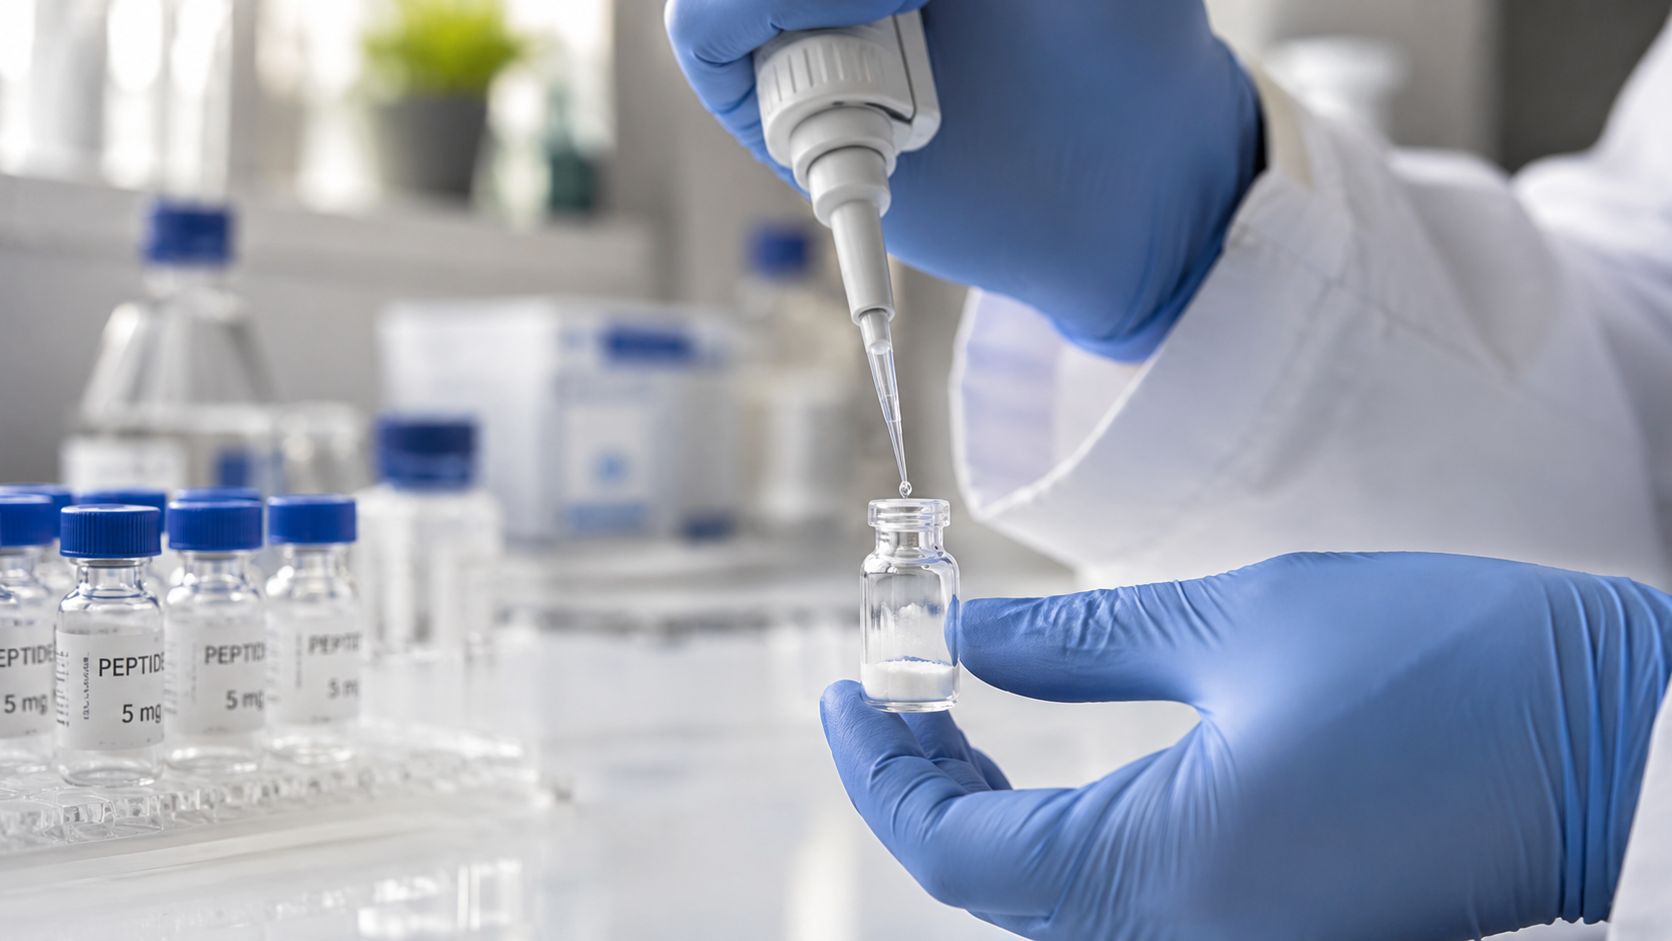
The first response to a stubborn residue should be patience. Many peptides need a longer passive wait before they fully disperse, and some benefit from a return to refrigeration if they're not ready immediately. That approach avoids escalating the physical stress on the material.
A sensible troubleshooting ladder looks like this:
- Pause and observe. Let the vial sit undisturbed.
- Swirl gently. Use slow circular motion, not shaking.
- Reassess after time. Give the solution a longer window before deciding it failed.
- Adjust the workflow only if needed. Change strategy only after the gentle options have been exhausted.
Use heat and sonication with caution
Gentle warming or sonication can help in some lab settings, but both should be treated as controlled interventions, not default fixes. Excess heat risks degrading the peptide, and overly aggressive sonication can create the opposite problem by stressing the formulation instead of helping it. The safest approach is minimal intervention with close observation.
If a peptide still isn't cooperating, the answer is usually not more force. It's better formulation logic.
That logic may include revisiting the solvent choice, the concentration target, or the sequence of steps used during mixing. A resistant peptide is often telling the operator something useful about the formulation, not just refusing to dissolve.
Reserve alternative solvents for the right cases
When standard aqueous handling is not enough, some workflows use small amounts of alternative solvents such as DMSO or acetonitrile as part of an experimental plan. That choice should be driven by the peptide's chemistry and the intended assay, because changing the solvent changes the solution environment as well. It can make a problematic peptide usable, but it can also create a different compatibility issue downstream.
The key point is that rescue strategies belong in the protocol, not in improvisation. A solution that finally looks clear is still only useful if it remains compatible with the research that follows.
Post-Reconstitution Storage and Stability
Dissolution is the halfway point, not the finish line. Once the peptide is in solution, the handling priorities shift to preserving integrity, limiting contamination, and preventing the slow damage that comes from temperature swings and repeated opening. The storage plan should be decided with the same care as the reconstitution step itself.
Refrigeration is the short-term default
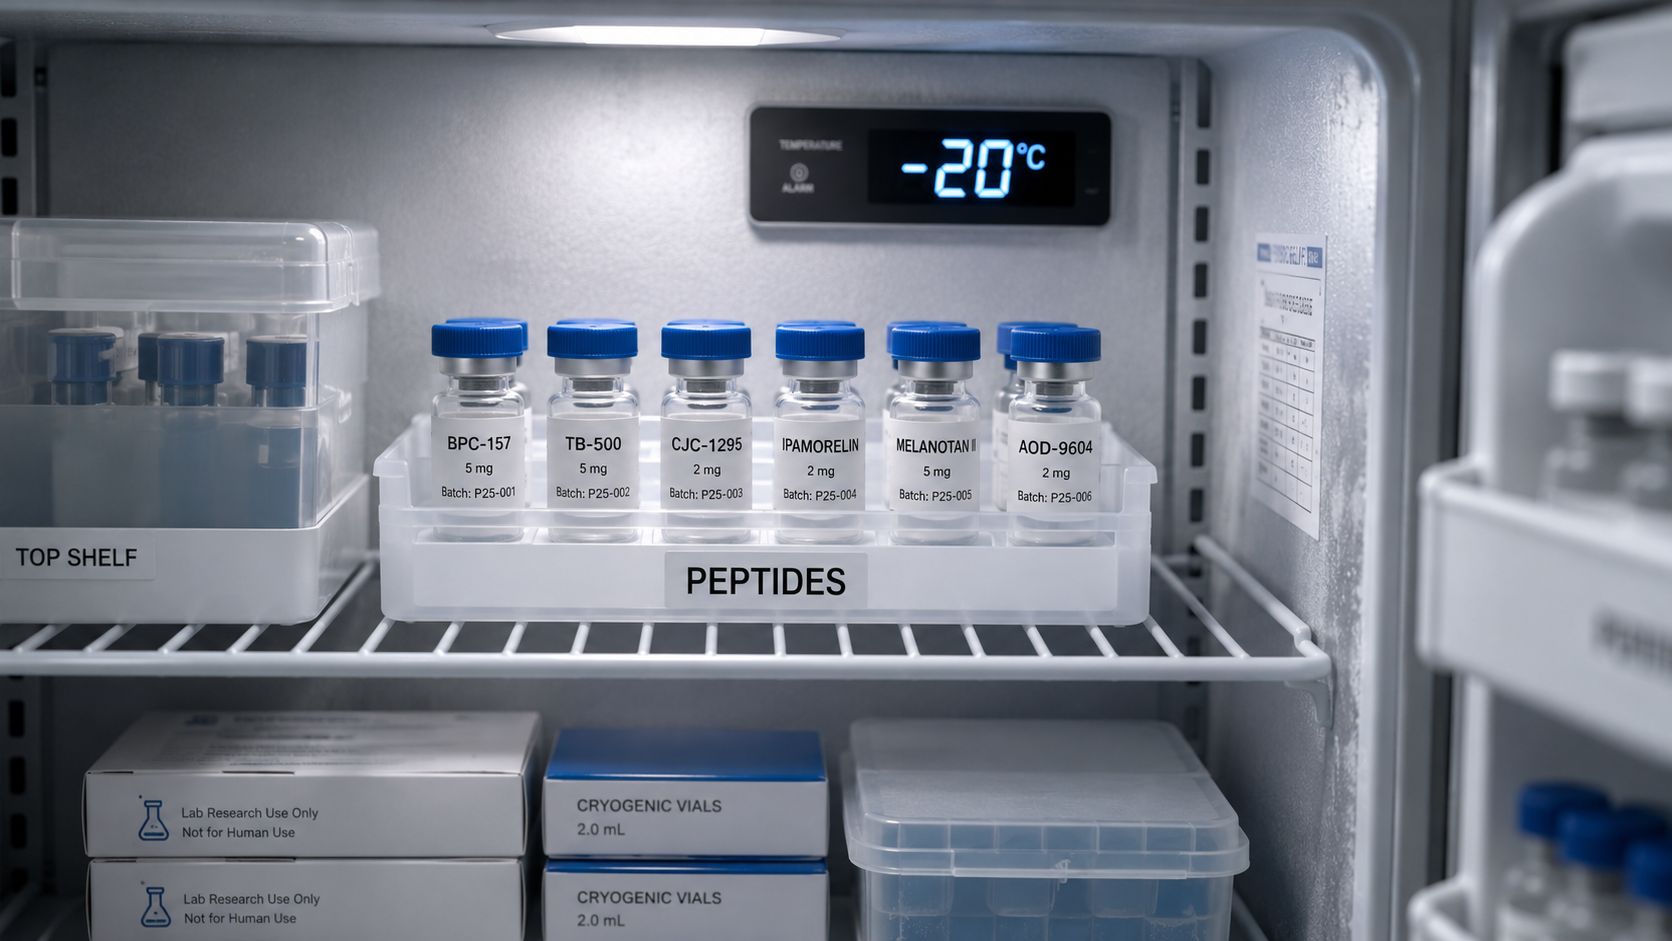
Multiple neutral handling guides converge on refrigeration at 2–8°C after mixing, with many products handled within a practical 28-day window, while some lab guidance also notes that longer storage is often kept at –20°C or below (RiteAid peptide guide, Polaris Peptides lab guide, Klow Peptide article). The important distinction is that these are handling conventions, not blanket guarantees, because stability still depends on the peptide, concentration, pH, light exposure, and container choice.
That's why a cold vial in a fridge is not the same as a protected formulation. Temperature is one variable, not the whole stability strategy.
Aliquoting reduces avoidable damage
Repeated freeze–thaw cycles are repeatedly discouraged in peptide handling guidance because they accelerate degradation (Polaris Peptides lab guide). Aliquoting into small, single-use volumes helps solve that problem by reducing the number of times the same vial is warmed and refrozen. It also lowers the chance that contamination or repeated air exposure will affect the whole stock.
Storage principle: the fewer times the solution is disturbed, the better the chance it keeps its original behavior.
This is especially important for teams that manage inventory across multiple users or time points. One master stock divided into controlled portions is usually more reliable than one repeatedly accessed vial.
Preservative choice affects usable time
The solution's usable window is influenced by whether the diluent contains a preservative. One source states that reconstituted peptide should be discarded within 3 to 4 weeks, or within 24 hours if sterile water without preservative is used (Klow Peptide article). That guidance is not universal across every peptide, but it captures the practical difference between preserved and non-preserved workflows.
For a storage-focused reference, the article at how to store reconstituted peptides is a useful companion for operators who need a tighter handling routine. In practice, the safest habit is to label the vial with the date, refrigerate it promptly, keep it away from light, and treat any unexplained change in appearance as a reason to pause use.
Light and container choice still matter
The vial's physical environment matters more than many users assume. Light protection, clean closure, and proper labeling all reduce risk during storage. A peptide that has been handled carefully but left exposed to avoidable stress can still drift out of spec before the experiment begins.
The most effective storage plan is boring on purpose. It keeps the solution cold, protected, divided, and easy to identify.
Troubleshooting and Research Compliance Notes
Cloudiness, precipitation, and discoloration are not cosmetic issues. They are warning signs that the solution may no longer be behaving as intended. If a reconstituted peptide turns cloudy or develops visible particles, the safest move is to stop and reassess rather than use it as if nothing changed.
Read the vial before using it
A few visual checks catch most problems early:
- Cloudy appearance: suggests the material may not be fully dissolved or may be destabilizing.
- Visible particles: indicate incomplete solubilization or contamination risk.
- Unexpected discoloration: deserves caution, especially if it differs from the normal appearance for that peptide.
- Repeated precipitation after warming: points to a formulation problem, not a harmless fluctuation.
The handling guidance in the earlier sections already covers the main prevention steps. The practical rule here is simple, if the solution stops looking right, it should not be treated as automatically usable.
Keep the research-use boundary clear
For professional labs in the EU, UK, USA, and LATAM, Research Use Only means the material is handled for laboratory investigation, not for human administration or casual application. That boundary affects labeling, storage, documentation, and how staff interpret the product from the moment it arrives. A careful reconstitution workflow supports that compliance by keeping the solution traceable, sterile, and consistent with intended research use.
A good peptide protocol protects the sample, and the lab's documentation protects the decision to use it.
That combination is what separates routine handling from responsible lab practice. The goal is not just to make a solution, it's to preserve a research reagent in a way that supports valid work.
Herbilabs supplies research-grade diluents, vials, and peptide handling materials designed for careful laboratory workflows across the EU, UK, and USA. For teams that need reliable reconstitution products, clear documentation, and a supplier that understands cold-chain handling and RUO expectations, visit Herbilabs and review the options that fit your protocol.


