Private Label, White Label, Wholesale partnerships available - EU, USA and UK - Free shipping from €75
Essential Aseptic Techniques for Accurate Lab Research
Learn the fundamental practices for maintaining a sterile environment to ensure the accuracy of your scientific experiments.
The Foundation of Reliable Research
Louis Pasteur’s work in the 19th century fundamentally changed biology by proving that microorganisms exist everywhere and are not spontaneously generated. This discovery is the very reason that sterile control has become the bedrock of modern research. Aseptic technique is not simply about cleaning. It is a rigorous, proactive methodology designed to create a controlled environment completely free of contaminating microorganisms.
A single contamination event can undermine weeks or even months of work, rendering data completely invalid. Imagine a stray bacterium in your culture. It can easily outcompete a slow-growing mammalian cell line, consuming all the vital nutrients in the media. A hidden fungal contaminant might release metabolites that trigger unintended cellular responses, skewing your results in ways you cannot account for. In molecular biology, a tiny fragment of contaminating DNA can lead to false positives in a PCR reaction, wasting expensive reagents and valuable time. As detailed in resources from Biology LibreTexts, the presence of these unwanted microbes can fundamentally alter experimental conditions.
The importance of these skills is universal across scientific disciplines. They are central to microbiology sterile procedures for isolating pure cultures and are a non-negotiable part of any reliable aseptic cell culture guide. For geneticists, they ensure the integrity of precious DNA and RNA samples. This principle is a common thread in countless experimental designs, a topic we explore further in our collection of research articles. Without mastery of aseptic technique, reproducible science is simply not possible.
Preparing Your Sterile Workspace

With the stakes clearly established, we can shift from the ‘why’ to the ‘how’. A successful experiment begins long before you uncap your first tube. It starts with meticulously preparing your workspace to minimise the risk of contamination from the very beginning.
Establishing a Controlled Environment
Think about the air in your lab. It is filled with microscopic particles, including dust, spores, and bacteria, that are constantly settling on surfaces. Your first goal is to create a ‘still air’ zone. This is achieved by closing doors and windows and choosing a workspace away from high-traffic areas or air vents. This simple step reduces air currents, giving airborne contaminants less opportunity to land in your experiment. Following a systematic setup, as outlined by educational resources like Practical Biology, dramatically reduces this risk from the outset.
Protocols for Surface Disinfection
Your benchtop is the primary stage for your work, and its cleanliness is paramount. A proper disinfection protocol is a cornerstone of how to maintain aseptic technique. It is more than just a quick wipe. Follow these steps every time:
- Clear the surface of all non-essential items.
- Spray the area generously with 70% ethanol or another appropriate disinfectant.
- Wipe the surface in a single, overlapping direction, such as from back to front. This removes contaminants instead of just spreading them around.
- Allow the surface to air dry completely. This is not a step to be rushed. The evaporation time ensures the disinfectant has sufficient contact time to kill microorganisms.
Organising for Aseptic Efficiency
Once your surface is sterile, you must organise it to maintain that sterility. This is the concept of the ‘sterile field’. Arrange all your necessary items, such as media, flasks, and sterile pipette tips, within easy reach. This minimises large movements and prevents you from having to reach over open containers, a common source of contamination. For many microbiology sterile procedures, working on an open bench near the updraft of a Bunsen burner is sufficient. However, for any work involving human or pathogenic cell lines, a Biological Safety Cabinet (BSC) is absolutely essential. Ensuring you have a ready supply of high-quality, sterile lab essentials is the first step to success.
Core Principles of Aseptic Handling
With your workspace prepared, the focus now shifts to your actions. Every movement must be deliberate and precise. This section moves beyond setup and into the physical execution of sterile techniques in laboratory work, where muscle memory and careful handling make all the difference.
Mastering In-Process Tool Sterilisation
For many procedures, a Bunsen burner is your best friend for sterilising tools like metal inoculation loops or forceps. The correct technique is critical. You must heat the tool in the hottest part of the flame, the tip of the inner blue cone, until it glows a distinct orange-red. Once it glows, pull it out of the direct flame but keep it within the sterile air column created by the burner’s updraft to cool. It is absolutely vital to wait for the tool to cool before touching a microbial culture. A hot loop will instantly kill the organisms you are trying to transfer, defeating the purpose of the procedure.
The Art of Handling Sterile Containers
Never place a sterile cap or lid on the lab bench. We have all seen it happen, but it is a direct path to contamination. Instead, master the ‘pinky technique’. When you remove a cap from a bottle or tube, hold it with the little finger of your pipetting hand. This keeps the inner surface of the cap from touching anything non-sterile. For glass bottles, briefly pass the neck of the bottle through the flame immediately after opening and just before closing. This creates a protective updraft of hot air that prevents airborne contaminants from falling inside. These handling methods, which form the basis of aseptic work, are well-documented in microbiology lab manuals, such as those provided by Biology LibreTexts.
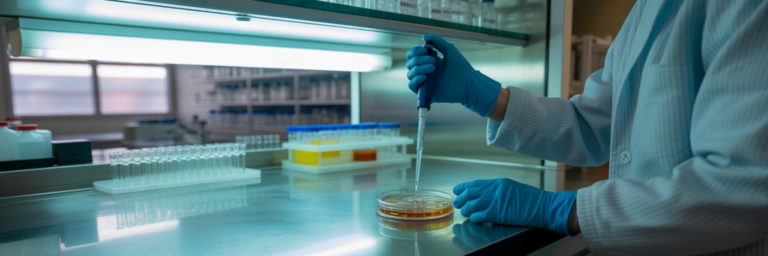
Executing Flawless Sterile Transfers
Transferring a liquid from one sterile container to another is one of the most common procedures and a frequent point of failure. A flawless transfer requires a sequence of precise actions:
- Slightly loosen the caps on both the source and destination tubes before you begin.
- Hold both tubes in your non-dominant hand.
- With your dominant hand, pick up a sterile pipette and attach a new sterile tip without touching its opening.
- Remove the caps from the tubes using the pinky technique.
- Flame the necks of the tubes if they are glass.
- Aspirate the liquid, being careful not to touch the pipette tip to the rim or inside of the source tube.
- Dispense the liquid into the destination tube, again avoiding contact with the rim. This step is particularly critical when preparing dilutions using a sterile medium like a reconstitution solution.
- Re-flame the necks and securely recap the tubes.
Finally, remember that you are part of the sterile field. Always tie back long hair, wear a clean lab coat, and use gloves. Avoid talking, singing, or coughing over your open containers.
Identifying and Avoiding Common Contamination Pitfalls

Even with the best intentions, mistakes happen. The key is to recognise them, understand why they happened, and learn to spot the tell-tale signs of contamination early. This section serves as your troubleshooting guide, focusing on errors and detection rather than correct procedure.
Many of the most common lab contamination sources stem from reflexive, thoughtless habits. Be on the lookout for these frequent mistakes:
- Placing a sterile cap or lid face-down on the bench. The bench is not sterile, and this action guarantees contamination.
- Reusing a pipette tip. Once a tip has touched a solution, it is considered contaminated and must not be used for another solution.
- Allowing a lab coat sleeve to pass over an open plate. Your lab coat is not sterile and can easily shed particles into your culture.
- Accidentally touching the inner rim of a sterile container. Your gloved fingers are cleaner than your bare hands, but they are not sterile.
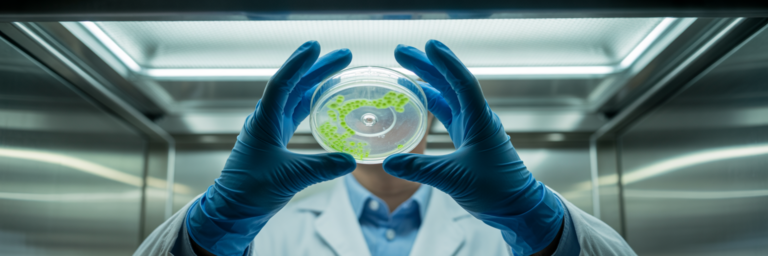
Beyond preventing errors, you must become a ‘contamination detective’. Learn to recognise what contamination looks like. Different microbes have distinct appearances in culture, which can help you identify the source of the problem.
Quick Guide to Identifying Microbial Contamination
| Type of Contamination | Visual Cues in Liquid Media | Visual Cues on Agar Plates |
|---|---|---|
| Bacterial | Uniform cloudiness (turbidity), sometimes with a thin film on the surface or sediment at the bottom. Media may change color due to pH shifts. | Small, distinct, shiny or dull colonies that are typically circular and have defined edges. Can appear rapidly, often overnight. |
| Fungal (Yeast) | Often appears as distinct clumps or sediment. May cause some turbidity but is less uniform than bacteria. Can form a film on the surface. | Opaque, creamy colonies similar to bacteria but often larger and with a characteristic ‘yeasty’ smell. Budding cells may be visible under a microscope. |
| Fungal (Mould) | Appears as fuzzy, filamentous balls (mycelia) floating in the media or as a mat on the surface. Often white, green, or black. | Large, fuzzy, or hairy colonies with a filamentous appearance. Often starts white and develops colored spores (e.g., green, black, blue) in the center. |
Finally, let us be perfectly clear: the ‘five-second rule’ has no place in a laboratory. Microbial transfer from a non-sterile surface to a sterile object is instantaneous. There are no exceptions. Any contact, no matter how brief, renders the object contaminated and it must be discarded or re-sterilised. Ultimately, maintaining sterility is about a commitment to precision, a core value for any researcher dedicated to reliable science.
Sustaining a Culture of Sterility
Mastering aseptic technique is not a one-time achievement. It is a perishable skill that requires constant, conscious practice to prevent bad habits from creeping back into your workflow. The most experienced researchers can become complacent, so vigilance is always necessary. Encouraging peer review of techniques and performing regular self-assessments are excellent tools for continuous improvement and for catching small errors before they lead to major contamination events.
In a team environment, this consistency is best maintained through clear, written Standard Operating Procedures (SOPs). SOPs ensure that everyone on the team performs critical tasks the same way, which is vital for the reproducibility of experiments. When contamination does occur, having a detailed SOP allows you to systematically troubleshoot the process and pinpoint the likely source of the error.
Looking ahead, the rise of automation and robotics in high-throughput labs certainly helps reduce human error. However, we stand firm in our belief that a deep, fundamental understanding of manual sterile techniques in laboratory settings will always be indispensable. These manual skills are essential for developing new protocols, troubleshooting automated systems when they fail, and conducting the novel, small-scale research that drives scientific discovery forward.