Private Label, White Label, Wholesale partnerships available - EU, USA and UK - Free shipping from €75
A Researcher’s Guide to Preventing Lab Contamination
This guide provides essential protocols for identifying contamination sources and implementing best practices to maintain a sterile laboratory environment.
Identifying the Invisible Threats in Your Lab
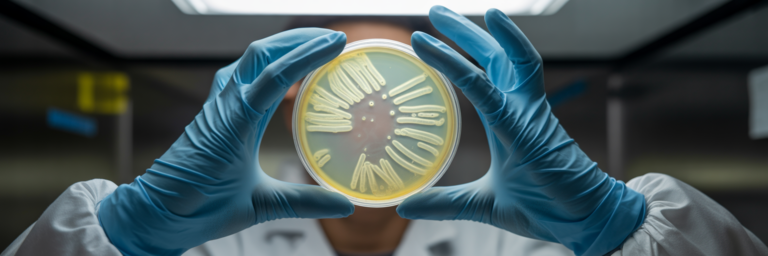
We have all felt that sinking feeling: a cloudy culture flask, an unexpected result, or a fuzzy spot on an agar plate. Laboratory contamination is more than just visible growth. It is any unwanted substance that compromises the integrity of your experiment. The consequences are severe, leading to invalidated data, the loss of irreplaceable samples, and wasted funding. Understanding these threats is the first step toward building a resilient experimental workflow.
The common sources of lab contamination can be broken down into a few key categories. First are the biological contaminants. These are the living organisms we most often associate with contamination, such as bacteria, fungi like yeasts and moulds, and viruses. They are everywhere: floating in the air from HVAC systems, present in unsterilised water, or carried on our skin and clothes. Each has its own way of ruining an experiment, from outcompeting your cells for nutrients to altering their behaviour entirely.
Next are the chemical contaminants, which are often more subtle. Think of the endotoxins left behind from bacterial cell walls that can trigger an unwanted immune response in your cell cultures. Or consider the residual detergents on poorly rinsed glassware that inhibit enzymatic reactions. Even impurities in reagents can skew results. As detailed in guides from sources like Corning Life Sciences, these invisible agents can be just as destructive as a full-blown fungal bloom.
Ultimately, most contamination events trace back to the human factor. A moment of distraction, a forgotten protocol step, or a rush to finish a task can undo weeks of careful work. It is rarely equipment failure that leads to a contaminated experiment. More often, it is a small lapse in our own actions. Recognising this fact is crucial because it shifts the focus from blaming tools to mastering our technique.
Mastering Aseptic Technique Fundamentals

With the sources of contamination identified, the solution lies in our own hands. The aseptic technique in laboratory settings is not just a list of rules but a proactive mindset. It is a constant state of awareness, much like a surgeon maintains a sterile field during an operation. Sterility is an active process you create, not a passive state that exists on its own. As resources like Bio LibreTexts emphasize, these practices are fundamental for achieving reproducible results.
The core of this practice is creating and maintaining a sterile work zone. A biological safety cabinet (BSC) uses a curtain of filtered air to protect your work, while the updraft from a Bunsen burner creates a cone of sterility around it. Your job is to respect this invisible barrier. This means adhering to a few non-negotiable procedures:
- Always flame the necks of bottles and tubes before and after transferring liquids to incinerate any microbes that may have settled on the rim.
- Angle lids and caps over open containers to act as a shield against particles falling from the air.
- Never reach over an open sterile container. Your hand or sleeve can shed thousands of particles, directly into your sample.
- Ensure sterile instruments only touch other sterile surfaces. The moment a pipette tip touches the benchtop, it is no longer sterile.
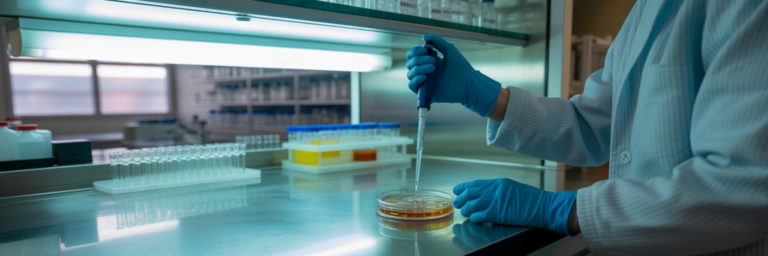
Personal protective equipment (PPE) also plays a dual role. While gloves and a lab coat protect you, their primary purpose in aseptic work is to protect the experiment from you. We are constantly shedding skin cells and microorganisms. Gloves are a critical barrier, but they only work if used correctly. The second your gloved hand touches your phone, a notebook, or the outside of a reagent bottle, it is contaminated. Have you considered how many non-sterile surfaces your gloves touch during a typical procedure? Frequent disinfection or changing of gloves is not optional, it is essential. For more guidance, you can explore a wide range of scientific articles on our blog.
Your Essential Toolkit for a Sterile Workspace
While personal discipline is paramount, you also need the right tools. Your ability to maintain a sterile environment depends on having the correct equipment and supplies and knowing how to use them effectively. This toolkit is the physical foundation of your contamination prevention strategy.
Primary engineering controls are your first line of defence. Laminar flow hoods provide a stream of clean air to protect your sample, while biological safety cabinets (BSCs) protect the sample, the user, and the environment. According to experts at Thermo Fisher Scientific, the HEPA filters in these cabinets are critical for creating particle-free air, but their performance must be certified regularly.
For sterilizing lab equipment, two methods dominate. Steam sterilisation in an autoclave is the workhorse for media, buffers, and durable instruments. For glassware or metal tools where moisture is an issue, dry heat ovens are used. A crucial but often overlooked step is validation. Using biological indicators confirms that each cycle achieves true sterility, not just heat.
Modern labs also rely heavily on sterile disposables. Filter pipette tips, individually wrapped serological pipettes, and single-use flasks are fundamental to laboratory sterile best practices because they eliminate the risk of cross-contamination between samples. For sensitive work like peptide research, using a professionally prepared, sterile product like our Reconstitution Solution (30ml) eliminates the risks associated with self-prepared buffers.
Finally, disinfectants are essential, but only if used correctly. The most important concept to understand is contact time, which is the period a surface must remain wet for the chemical to be effective. A quick spray and wipe with ethanol is often not enough.
| Disinfectant | Primary Use | Effective Against | Required Contact Time | Limitations |
|---|---|---|---|---|
| 70% Ethanol/Isopropanol | Surface wiping of gloves, benches, and equipment | Most bacteria, fungi, and enveloped viruses | 1-5 minutes (must remain wet) | Not effective against spores. Evaporates quickly. |
| 10% Bleach (Sodium Hypochlorite) | Decontaminating spills, waste discard pans | Broad spectrum: bacteria, viruses, fungi, spores | 10-15 minutes | Corrosive to metals. Must be prepared fresh daily. |
| Quaternary Ammonium Compounds | General cleaning of floors and large surfaces | Bacteria, some viruses and fungi | ~10 minutes | Inactivated by organic matter and hard water. |
| Hydrogen Peroxide (Accelerated) | Broad-spectrum surface and equipment disinfection | Bacteria, viruses, fungi, spores (at high conc.) | 1-10 minutes | Can be damaging to some surfaces over time. |
Note: This table provides general guidelines. Always follow the manufacturer’s instructions for specific formulations and consult your institution’s safety protocols.
Environmental Controls and Workspace Management

Aseptic technique and sterile tools are vital, but their effectiveness is amplified by a clean and well-managed environment. This broader perspective shifts the focus from individual actions to systemic controls that reduce the overall contaminant load in the entire laboratory, making everyone’s job easier and their results more reliable.
It starts with a strategic laboratory layout. Designing the space with contamination control in mind means physically separating “clean” areas, like cell culture suites, from “dirty” areas where samples with high microbial content are handled or glassware is washed. This simple separation minimizes foot traffic and prevents aerosols from drifting into sensitive zones.
This layout must be supported by rigorous cleaning schedules. This goes far beyond just cleaning up spills. A documented, routine protocol ensures that cleanliness is maintained consistently. A good schedule might include:
- Daily: Wiping down all work surfaces at the beginning and end of the day, and disinfecting any shared equipment after use.
- Weekly: Mopping floors, thoroughly cleaning and changing the water in incubators and water baths, and emptying and disinfecting waste containers.
- Monthly: Deep cleaning of shelves, refrigerators, freezers, and other less-frequently used equipment where dust and contaminants can accumulate.
Building-level systems also provide a crucial layer of defence. Positive pressure rooms, where the air pressure is higher than the surrounding areas, ensure that air flows out, not in, preventing airborne contaminants from entering a sterile suite. Facility-wide HEPA filtration systems can further reduce the burden of dust and microbes in the air. Finally, proper biohazardous waste management is essential. Using designated, leak-proof bins and autoclaving all contaminated waste before disposal prevents the release of microorganisms into the wider environment. Maintaining these controls requires a steady supply of cleaning agents and disposables, which can be sourced from our comprehensive lab shop.
Protocols for Handling and Storing Materials
The final piece of the puzzle is managing the lifecycle of your most valuable assets: reagents, media, and cell lines. Proactive protocols for handling and storage are essential for preventing loss and ensuring the consistency of your research. This is especially critical for cell culture contamination prevention, where a single mistake can ruin months of work.
One of the most powerful practices is aliquoting. Instead of repeatedly opening a large stock bottle of media or a critical antibody, divide it into smaller, single-use aliquots upon arrival. This is the lab equivalent of not putting all your eggs in one basket. If a contamination event occurs, you only lose one small tube, not your entire supply.
When working with cell lines, cross-contamination is a major threat to research validity. As detailed in resources from Study.com, this issue is pervasive and undermines countless studies. The golden rule is simple but strict: work with only one cell line at a time in the biological safety cabinet. Clean the cabinet thoroughly before introducing a different cell line. Invisible aerosols from one open flask can easily drift into another, creating a mixed population that invalidates all downstream data.
You must also perform routine contamination monitoring to catch problems early. This includes daily visual inspection of media for cloudiness or pH changes, regular microscopic examination of cultures for bacteria or fungi, and periodic PCR-based tests to screen for mycoplasma, a common and invisible bacterial contaminant. Ultimately, learning how to prevent lab contamination is about building a culture of consistency. The protocols are only effective if every lab member, from the principal investigator to the newest student, is trained on and adheres to the same procedures. Building this culture of excellence starts with reliable protocols and high-quality materials. At Herbi Labs, we are committed to supporting the scientific community on that mission.