Private Label, White Label, Wholesale partnerships available - EU, USA and UK - Free shipping from €75
A Methodical Guide to Peptide Reconstitution
Follow this detailed protocol for safely and effectively preparing peptides to maintain their integrity and efficacy.
Foundational Principles of Peptide Stability
The process of lyophilization, or freeze-drying, has long been the gold standard for preserving delicate biological molecules. By removing water under vacuum, it effectively halts the chemical reactions that cause peptides to degrade, granting them a remarkable shelf life. However, this stable, powdered state is only temporary. The final, critical step is reconstitution, where the peptide is returned to a liquid form, ready for use. This is where precision becomes paramount.
The choice of diluent is the first and most important decision in this process. While sterile water for injection is an option, it is only suitable for single, immediate use because it contains no preservative. For any peptide that will be used in multiple doses over time, the correct reagent is bacteriostatic water for injection. The composition of our bacteriostatic water is simple yet effective: sterile water combined with 0.9% benzyl alcohol. This small addition of benzyl alcohol acts as a bacteriostatic agent, meaning it inhibits the growth of any potential contaminants introduced during subsequent withdrawals from the vial.
Without this protective element, each puncture of the vial’s stopper introduces a risk of bacterial contamination, which can compromise the entire contents. This entire process is more than just mixing powder and water. It is a careful procedure where mistakes have direct consequences. Improper technique can lead to a loss of the peptide’s potency, inaccurate dosing from incorrect concentrations, or contamination that renders the solution unsafe. A comprehensive lyophilized peptide reconstitution guide is therefore not just helpful, it is essential for ensuring the integrity and efficacy of your research or therapeutic outcomes.
Preparing a Sterile Reconstitution Workspace
Before a single vial is opened, the success of your reconstitution hinges on the environment you create. The goal is to establish an aseptic field, a controlled space where the risk of contamination is minimized. This isn’t about creating a hospital-grade cleanroom, but about applying methodical habits. Start by choosing a clean, flat surface in an area free from drafts or heavy foot traffic. A gust of air can carry microscopic contaminants that are invisible to the naked eye but can easily compromise your solution.
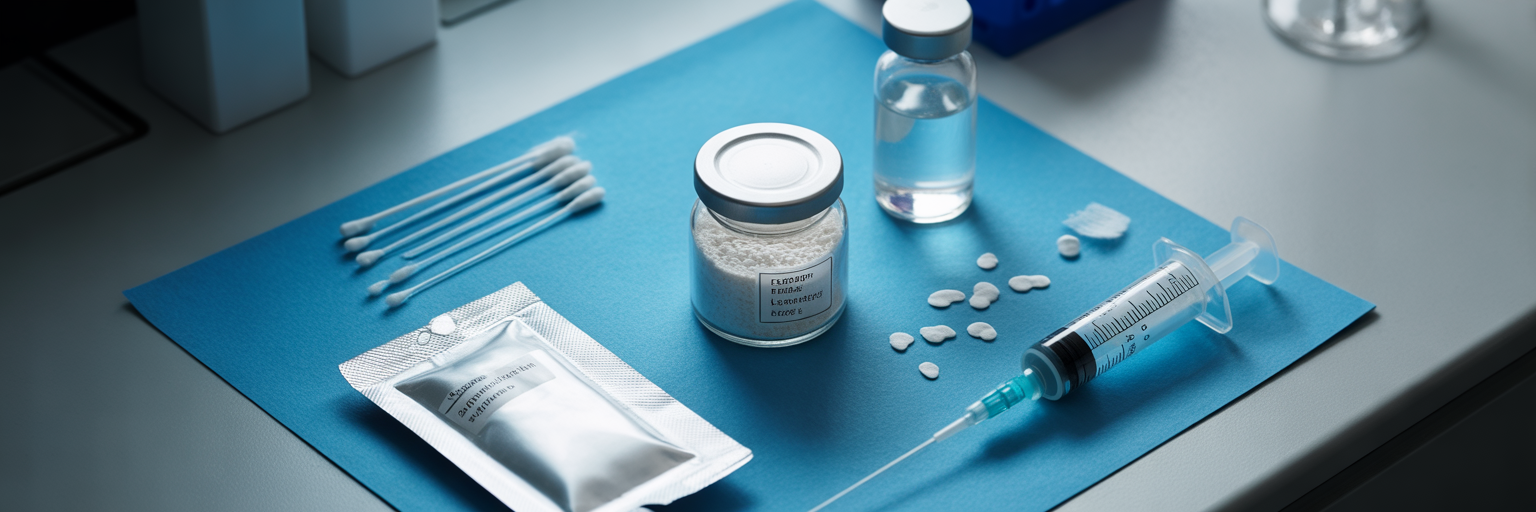
Gathering all your tools beforehand prevents you from having to reach across your sterile field later. You will need a specific set of items, and it is wise to confirm you have all the necessary supplies before you begin:
- Your lyophilized peptide vial
- A vial of bacteriostatic water
- Single-use sterile syringes, typically 1mL insulin syringes with markings for units
- Individually wrapped 70% isopropyl alcohol swabs
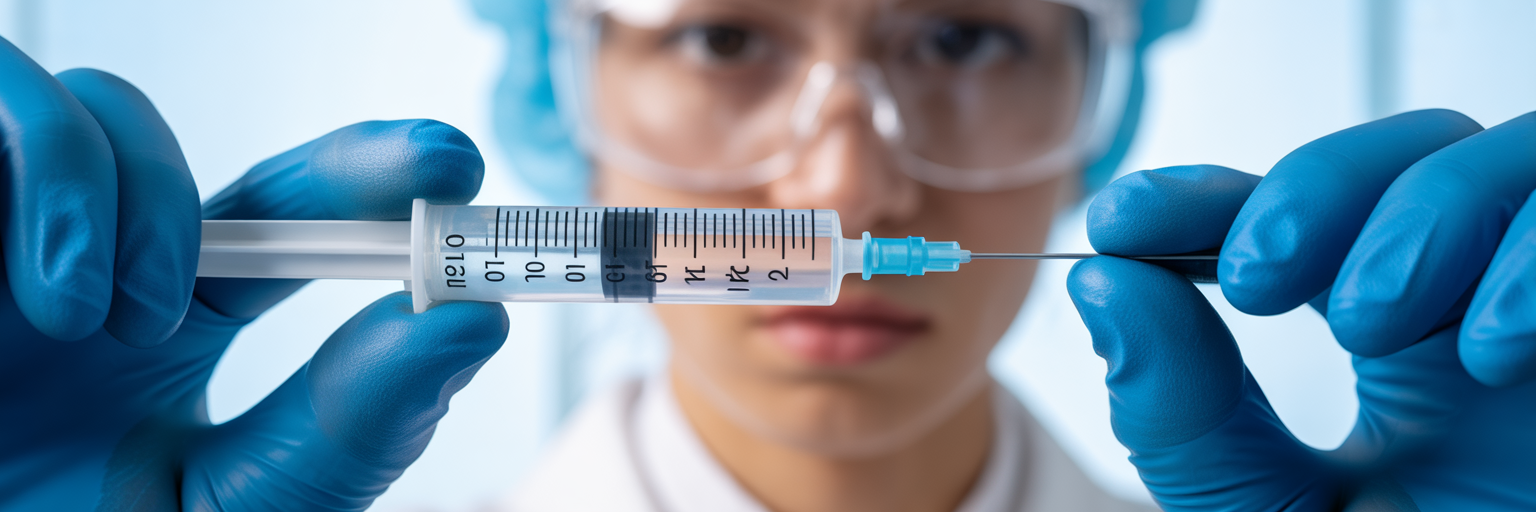
With your supplies ready, the focus shifts to your actions. The core of a sterile peptide mixing technique is deliberate movement. Wash your hands thoroughly and wear gloves. Arrange your items so that you never have to pass a non-sterile object, like your hand, over a sterile one, like an open vial stopper. According to reconstitution best practices, this simple workflow is one of the most effective ways to prevent contamination. Finally, perform your pre-procedure checks. Inspect the packaging of your syringe and alcohol swabs for any tears. Confirm the expiration dates on both the peptide and the water. A compromised seal or an expired product is an immediate red flag that should not be ignored.
The Step-by-Step Reconstitution Method
With a sterile workspace prepared, you are ready to begin the physical process. Knowing how to reconstitute peptides correctly is a matter of following a precise sequence of actions designed to protect the fragile molecules from damage. Rushing this stage can render the peptide ineffective, so work deliberately.
- Vial Preparation: Remove the plastic protective caps from both the peptide vial and the bacteriostatic water vial. Use a fresh alcohol swab to vigorously wipe the rubber stopper of each vial. It is crucial to let the alcohol air dry completely for about 30 seconds. Wiping it dry or blowing on it will reintroduce contaminants.
- Drawing the Diluent: Take your sterile syringe and pull the plunger back to the mark corresponding to the volume of water you intend to use. For example, if you need 1mL of water, draw 1mL of air into the syringe. Insert the needle into the bacteriostatic water vial and inject the air. This equalizes the pressure, making it much easier to draw the liquid accurately without creating a vacuum. Turn the vial upside down and pull the plunger back to draw your desired volume of water.
- Injecting the Diluent: This is where technique matters most. Do not inject the water directly onto the lyophilized powder. A common technique described in reconstitution guides is to insert the needle into the peptide vial at a slight angle, aiming for the glass wall inside. Gently and slowly depress the plunger, allowing the water to run down the side of the vial. This minimizes mechanical stress and prevents foaming, which can damage the peptide structure.
- Mixing the Solution: Once all the water is added, remove the syringe. You must never shake the vial. Vigorous agitation can cause shearing forces that denature the peptide, much like how whisking an egg white permanently changes its structure. Instead, gently roll the vial between your palms or swirl it with a light wrist motion until the powder is fully dissolved.
- Verifying Dissolution: The final reconstituted solution should be perfectly clear, with no visible particles or cloudiness. Hold the vial up to a light source to inspect it carefully. Any floating specks or a hazy appearance indicates a problem with solubility or potential contamination, and the solution should not be used.
Mastering Dilution Ratios and Dosing Calculations
Once your peptide is reconstituted, the next challenge is ensuring you can accurately draw the correct dose. This comes down to understanding concentration, which is simply the amount of peptide per unit of volume. The concentration is determined by two factors: the total amount of peptide in the vial (in micrograms, mcg) and the volume of bacteriostatic water you added (in millilitres, mL).
The fundamental peptide dilution calculation is straightforward: Dose Volume (mL) = Desired Dose (mcg) / Concentration (mcg/mL). For example, if you reconstitute a 5mg (5000mcg) vial of peptide with 2mL of water, your concentration is 5000mcg / 2mL = 2500mcg/mL. If your desired dose is 500mcg, the calculation would be: 500mcg / 2500mcg/mL = 0.2mL.
The amount of diluent you choose creates a trade-off between injection volume and measurement precision. This is a frequent point of confusion, but a simple comparison makes it clear.
| Factor | Dilution with 1mL of Water | Dilution with 2mL of Water |
|---|---|---|
| Concentration (for a 5mg vial) | 5000 mcg/mL | 2500 mcg/mL |
| Injection Volume for 500mcg Dose | 0.1 mL (10 units) | 0.2 mL (20 units) |
| Precision for Micro-doses | More difficult; smaller margin for error | Easier; larger volume allows for more precise measurement |
| Best Use Case | Larger doses requiring smaller injection volumes | Small or micro-doses requiring high accuracy |
Note: This table uses a 5mg (5000mcg) peptide vial as a standard example. The concentration and resulting volumes will change based on the initial amount of lyophilized peptide.
Most people use a U-100 insulin syringe, where the 1mL volume is divided into 100 units. This means 0.1mL is equal to 10 units on the syringe. As the table shows, a more diluted solution (using 2mL of water) makes it easier to measure small doses accurately because the volume is larger and less sensitive to tiny errors. While the math is essential, remember that consistent technique is what delivers repeatable results. For those interested in exploring more advanced topics, you can find further research and guides on our blog.
Post-Reconstitution Storage and Safe Handling
The reconstitution process is complete, but your responsibility for maintaining the peptide’s integrity continues until the last dose is used. Knowing how to store reconstituted peptides properly is just as important as the mixing itself. Once in liquid form, the solution must be refrigerated immediately at a stable temperature between 2°C and 8°C. The door of the refrigerator is not an ideal spot due to temperature fluctuations. Instead, place it in the main body of the unit, preferably in its original box to protect it from light, which can also degrade sensitive molecules.
The benzyl alcohol in the bacteriostatic water will prevent bacterial growth for approximately 28 to 30 days. However, it is important to understand that the peptide itself will still slowly degrade over this period. The preservative keeps it safe, but it does not stop the natural decline in potency. Therefore, it is best practice to use the solution within this timeframe. For users who reconstitute frequently or work with protocols requiring larger amounts, we also offer larger volumes of reconstitution solution to accommodate those needs.
Drawing multiple doses requires the same sterile discipline as the initial mixing. Adhering to safe handling protocols is non-negotiable. Always use a new, sterile syringe for every withdrawal. Reusing a syringe is the fastest way to contaminate your entire vial. Before each use, wipe the rubber stopper with a fresh alcohol swab and let it air dry. Finally, always trust your eyes. If you ever notice any changes in the solution, it must be discarded immediately. Key warning signs include:
- Cloudiness or a hazy appearance
- Any change in color
- Visible particles or floating specks
When it comes to peptide integrity, the rule is simple: when in doubt, throw it out. The risk of using a compromised solution is never worth it.