Private Label, White Label, Wholesale partnerships available - EU, USA and UK - Free shipping from €75
How to Break a Glass Ampule Safely in the Lab
A 2021 laboratory study found glass particles in 449 of 672 ampoules after opening, demonstrating that contamination isn't a rare theoretical problem. The same research showed that technique changes the result: wrapping only part of the neck with cotton and breaking outward produced the fewest particles, while wrapping the entire neck with gauze and breaking inward produced the most. The full study makes one point clear: how an ampule is opened directly affects what enters the solution and what happens to the handler's hands.
Safe ampoule handling isn't a casual snap at the bench. It's a controlled sequence involving inspection, surface cleaning, neck protection, outward breaking, immediate withdrawal, and proper sharps disposal. The method below is designed for laboratory workers who need to protect both the reagent and the person handling the glass.
Table of Contents
- Why Ampoule Opening Technique Matters More Than You Think
- Essential PPE and Tools for Safe Ampoule Handling
- The Step-by-Step Ampoule Opening Protocol
- Maintaining Sterility and Avoiding Contamination
- Ampoule Openers Versus Gauze and Improvised Methods
- Proper Disposal and Post-Opening Cleanup
Why Ampoule Opening Technique Matters More Than You Think
The European Medicines Agency and EDQM summary report tested 2,190 ampoules. During opening, 12% shattered, 31% produced glass particles, and 32% created harmful breaking surfaces. The EDQM report treats these outcomes as measurable properties of opening systems, not merely differences in operator confidence.
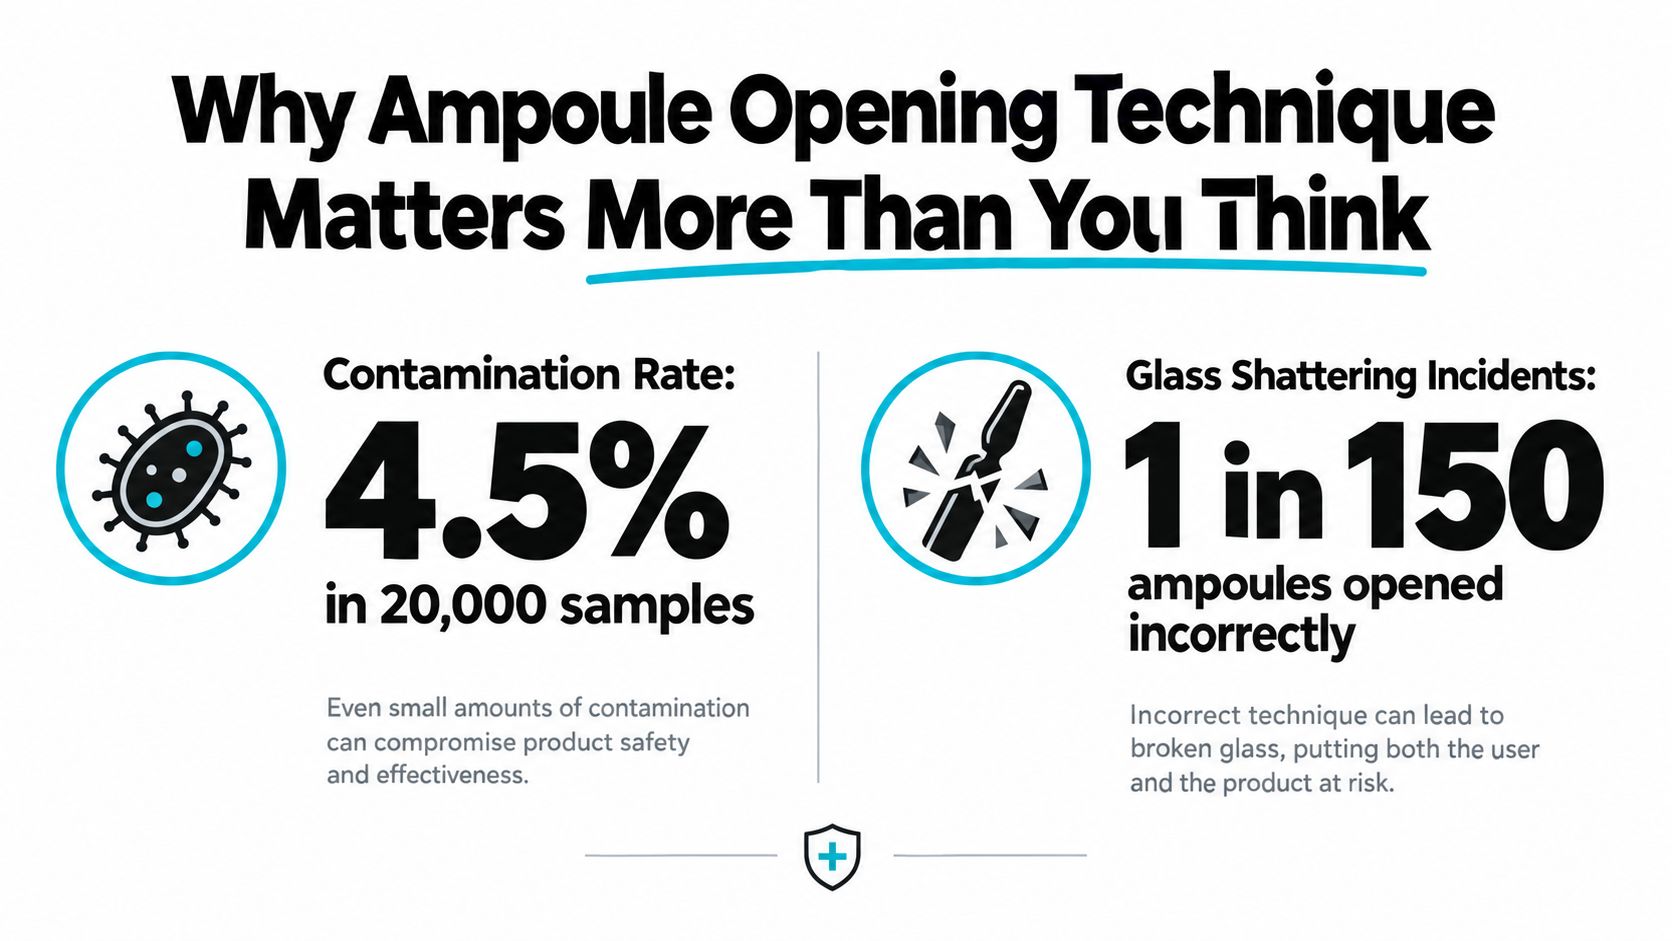
The danger has two sides. A sharp, irregular edge can cut the handler or damage a glove, while fragments can fall into the liquid or remain on the work surface. Clinical literature summarized in the same EDQM material has reported ampoule-related injuries as a substantial source of sharps incidents in some hospitals, with some studies attributing about 26% of needlestick and sharps injuries to ampoules. That risk explains why controlled snapping and limited hand contact matter.
Direction changes the outcome
Breaking inward drives the fractured neck toward the hand and can bring the fingers close to the fresh edge. Breaking outward directs the motion away from the body and reduces the chance that the broken tip will contact the working hand. The laboratory study above found that an outward break with partial neck protection generated the fewest glass particles, while an inward break with full gauze coverage generated the most.
Practical rule: The breaking direction and the amount of neck protection are safety variables. They aren't matters of personal style.
A sound procedure also belongs within a broader aseptic technique mindset. The bench should be organized before the ampule is touched, the receiving container should already be ready, and the worker shouldn't need to reach across the fracture point.
For facilities that use emergency break-glass hardware elsewhere, it helps to understand the value of controlled containment rather than bare-hand force. Resources such as browse Asec call point units illustrate the broader principle that breaking glass safely depends on controlling the point of fracture and protecting the user from the resulting edge. An ampule is smaller, but the same principle applies.
Essential PPE and Tools for Safe Ampoule Handling
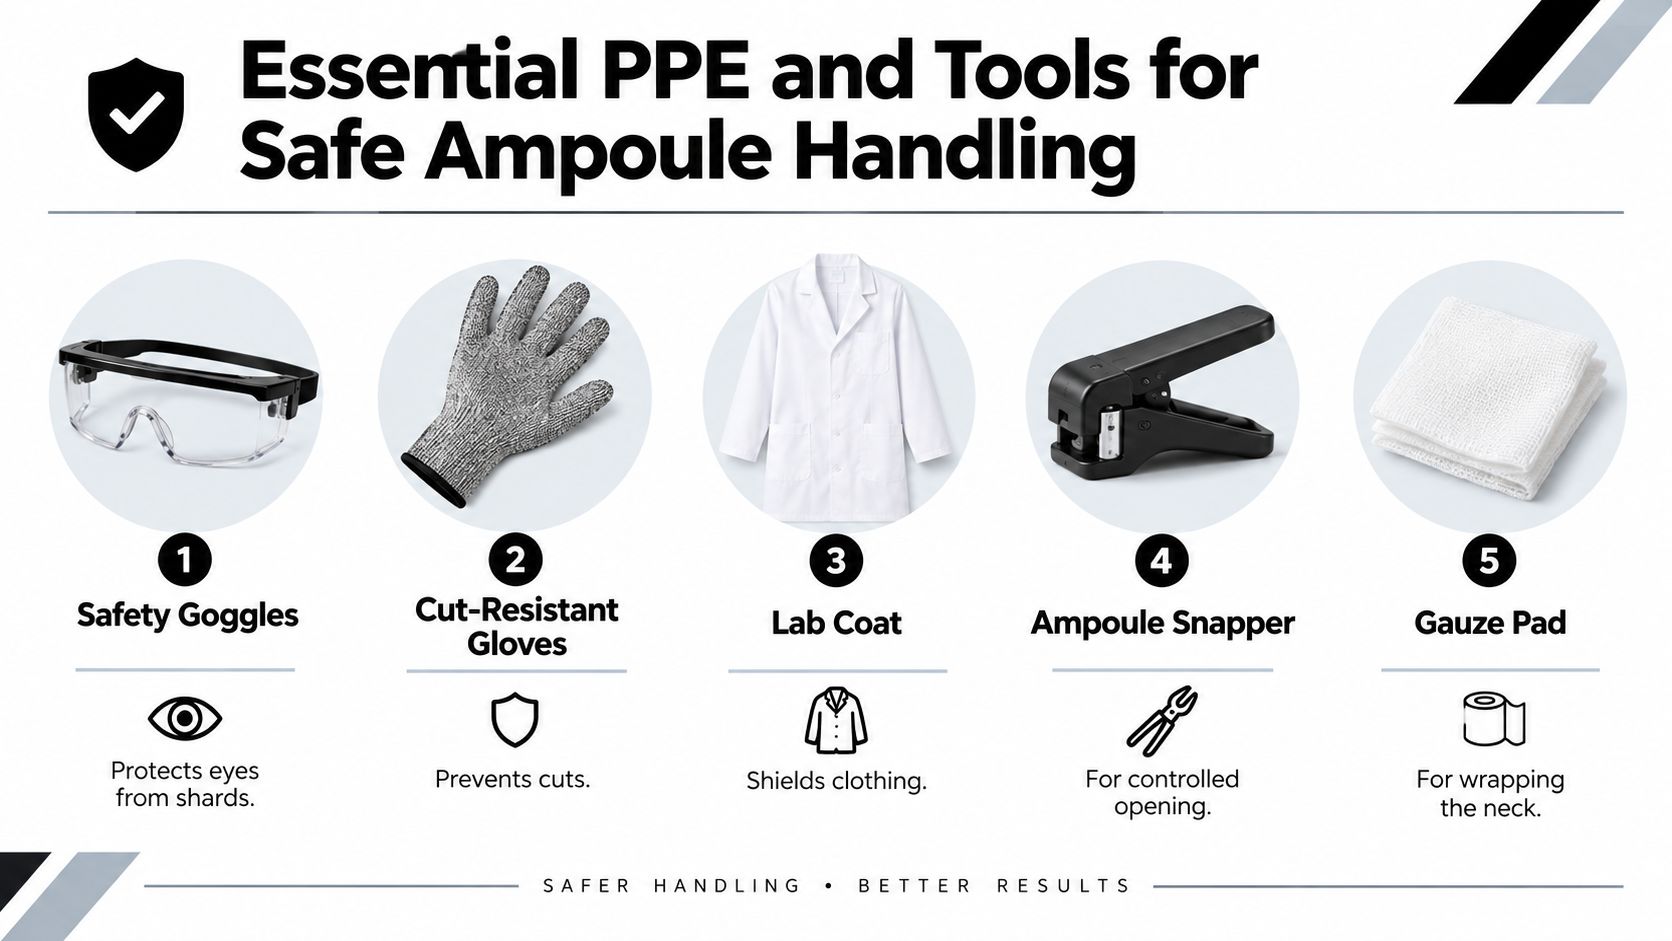
Preparation starts before the ampule leaves its tray. Eye protection, a closed lab coat, and suitable gloves should be available and correctly fitted. Goggles protect against a fragment that leaves the neck unexpectedly, the coat limits skin and clothing exposure, and gloves provide a barrier against incidental contact with the edge.
Gloves don't make the procedure risk-free. They can improve grip and reduce minor cuts, but they shouldn't replace eye protection, a controlled motion, or a sharps container positioned within reach. Teams reviewing glove selection can use Refinery Work Wear Canada's hand safety guidance to compare cut-resistant options, while still checking that the chosen glove is compatible with the laboratory's chemical and biological hazards.
Choose the opening tool deliberately
There are two practical tool categories. A purpose-built ampoule breaker or snapper gives the operator a defined grip and can contain the broken tip. A gauze pad, laboratory wipe, or protective sleeve can also work when applied correctly, particularly where the worker opens ampoules occasionally and can maintain consistent technique.
A reusable opener should be inspected for cracks, looseness, residue, or a damaged retaining surface. A disposable model reduces cleaning and cross-workflow concerns, but it creates a recurring consumables requirement. Gauze is readily available and inexpensive, yet loose or thin material can shift during the snap and leave fingers poorly protected.
The bench checklist should include:
- Eye protection: Keep goggles on before handling the container.
- Hand protection: Use gloves appropriate to the surrounding hazard, not merely the glass.
- Neck wrap: Select a clean gauze pad, wipe, or sleeve that won't obstruct the score mark.
- Alcohol wipe: Prepare an appropriate alcohol prep wipe for cleaning the outside.
- Sharps container: Place a puncture-resistant container close enough to receive the tip without carrying it.
A short demonstration can help new staff see hand placement and withdrawal timing more clearly:
The right choice depends on workflow. A mixed laboratory that handles sterile materials, biological cultures, and repeated ampoule opening will usually benefit from standardizing one approved opener and one backup method rather than allowing every worker to improvise.
The Step-by-Step Ampoule Opening Protocol
The process begins with inspection, not force. Hold the sealed ampule under suitable light and look for cracks, chips, unusual stress marks, or damage around the neck. If the glass already appears compromised, set it aside according to site procedure instead of attempting to rescue it.
Clean the outside with an alcohol wipe, keeping the ampule upright and avoiding unnecessary contact with the top. Allow the exterior to dry as required by the laboratory's procedure. Cleaning doesn't sterilize the inside, but it reduces the amount of material that can transfer from the outer surface during handling.
Prepare the neck before applying force
Locate the manufacturer's score mark around the narrow neck. If the mark is faint, incomplete, or not positioned for a controlled break, don't rely on finger strength alone. A deeper, continuous circumferential score gives the glass a defined failure path, although workers should follow the product and institutional procedure rather than repeatedly scraping the container.
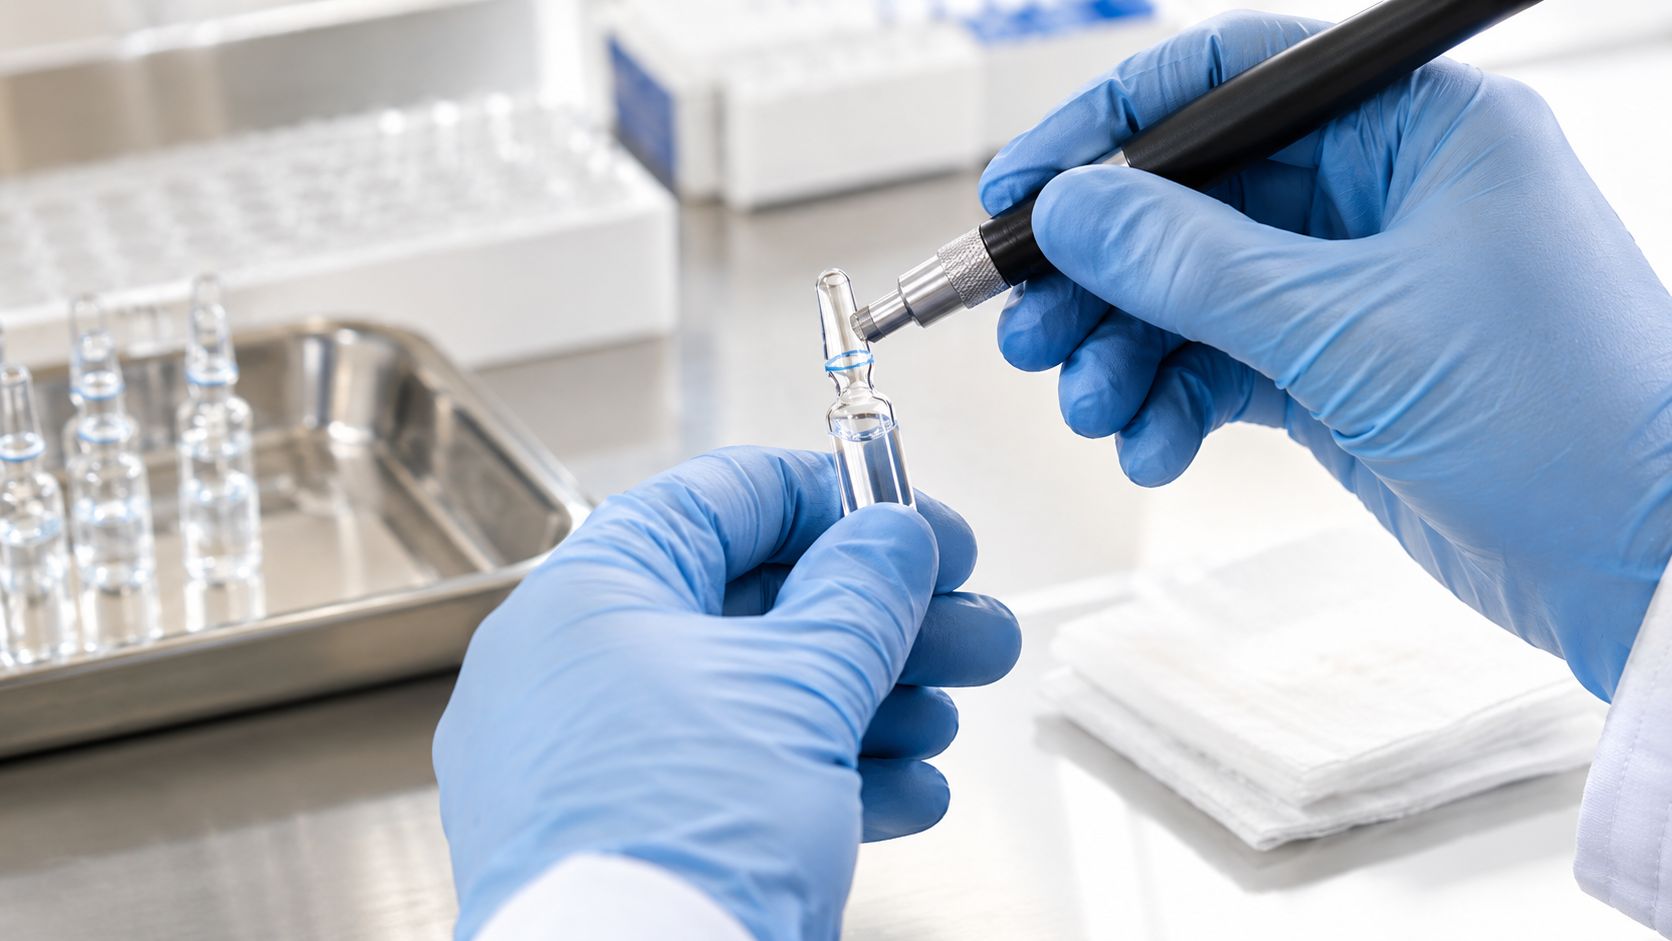
Wrap the neck with a clean gauze pad, laboratory wipe, or protective sleeve. The covering should protect the fingers and palm without hiding the score mark or forcing the hand to grip the top. Partial coverage can be preferable to covering the entire neck when the goal is to limit particle generation, as shown by the comparative laboratory findings cited earlier.
Keep the ampule upright, with the non-dominant hand holding the body below the score and the other hand controlling the protected neck or opener. Position the opening away from the face, nearby personnel, cultures, and exposed materials. Apply a quick, deliberate snap outward, away from the holding hand and body. Avoid twisting, sawing, or rocking the neck, because those movements can create an irregular edge and additional fragments.
Withdraw immediately after the snap
Once the neck separates, the hand controlling the top should move away immediately. Movement-analysis research recommends prompt withdrawal and elbow supination, rotating the forearm so the fingers move away from the newly exposed cut surface. The purpose is simple: the safest hand is no longer beside the edge.
Inspect the opening before drawing the liquid. If the ampule shatters, if the neck breaks unevenly, or if visible particles appear in the solution, stop the workflow and follow the laboratory's rejection and disposal procedure. Don't continue merely because the liquid looks usable.
Maintaining Sterility and Avoiding Contamination
A clean break doesn't guarantee a clean preparation. The fracture can release fine glass particles, disturb nearby air, and expose the contents to the surrounding environment. Air ingress after cracking can also matter when the material is sensitive to contamination or oxidation.
Ampoules containing cultured organisms, hazardous pathogens, or reconstituted biological material require a higher level of control than a routine non-biological reagent. Culture Collections guidance advises opening ampoules with hazardous pathogens in an appropriate containment cabinet and describes protective scoring, wrapping, outward snapping, and sharps disposal. The enclosure should match the hazard assessment, whether that means a biological safety cabinet, containment cabinet, or another approved setup.
Control the moment of fracture
Keep the receiving vessel or syringe ready before opening. Don't pass an open ampule over an exposed sterile field, and don't place the broken container beside clean materials. If the operation produces visible debris or the ampule has been open longer than the procedure permits, treat the field as compromised.
For sensitive solutions, a worker may need to allow the container to settle before withdrawal, use an approved filter needle where the procedure permits, and avoid drawing liquid through the broken edge. Filter devices aren't a substitute for correct opening technique, and they don't make a visibly contaminated preparation acceptable.
A practical contamination check includes:
- Environment: Use the enclosure required by the biological or chemical risk assessment.
- Materials: Keep sterile receiving items closed until the instant of use.
- Withdrawal: Keep the needle or transfer device away from the fractured rim.
- Disposition: Discard contents when glass, debris, or loss of sterility cannot be ruled out.
General cross-contamination prevention guidance reinforces the value of separating clean and dirty actions, controlling contact points, and cleaning the work area deliberately. Those principles apply directly to ampoule opening, especially when one operator handles multiple materials in the same session. A laboratory cross-contamination protocol should define what happens when the sterile field is touched, splashed, or exposed to suspected glass particles.
Ampoule Openers Versus Gauze and Improvised Methods
The choice between a purpose-built opener and gauze isn't just a procurement question. It determines how consistently workers grip the container, how well the broken tip is contained, and how much the laboratory depends on individual technique.
Duke institutional guidance indicates that reusable or disposable ampoule breakers can remove the need for heavy gloves, paper towels, or gauze for the opening step, while eye protection and sharps disposal remain necessary. Bristol training material also demonstrates a purpose-built cap that contains the broken top. Those tools can make the movement easier to standardize, but they don't eliminate inspection, controlled direction, or cleanup.
| Criterion | Purpose-Built Opener | Gauze Wrap Method |
|---|---|---|
| Grip control | Provides a defined holding surface and repeatable hand position. | Depends more heavily on the worker's wrap and finger placement. |
| Broken-tip containment | Some designs retain or cover the separated top. | The worker must control the tip and transfer it directly to sharps disposal. |
| Workflow consistency | Easier to standardize across staff and shifts. | Works well when training is strong and opening volume is modest. |
| Cleaning and sterility | Reusable models need inspection and cleaning; disposable models create consumables. | Clean gauze or wipes are simple to stage but can shift during the break. |
| Glove dependence | May reduce reliance on bulky hand protection for the opening motion, without replacing gloves where the risk assessment requires them. | Usually requires careful wrapping and suitable gloves. |
| Procurement trade-off | Adds a dedicated item and requires compatibility checks. | Uses materials already common on many laboratory benches. |
What works in practice
Gauze remains a valid method when the neck is clearly scored, the wrap stays stable, the worker breaks outward, and the laboratory can train and observe the technique. It becomes a weak method when staff use a small loose piece, cover the score mark, break inward, or carry the open ampule across the bench.
A dedicated opener is more defensible for repeated use, mixed-experience teams, or workflows where containing the top has clear value. Standardization also makes retraining easier because the same hand positions and tool checks apply across operators. The best decision is the one supported by a documented procedure, practical demonstrations, and a review of local incidents, not the assumption that either gauze or a commercial device is automatically safe.
Proper Disposal and Post-Opening Cleanup
The broken tip should go straight into a designated, puncture-resistant sharps container. It shouldn't be placed on a tray, wrapped in a tissue, dropped into general waste, or carried across the room. The ampule body also belongs in the waste stream specified by the laboratory, especially when it contacted hazardous biological or chemical material.
After disposal, inspect the immediate work area for fragments. Use the laboratory-approved method for detecting and removing glass, and keep hands away from the surface until cleanup is complete. A damaged, overfilled, or poorly positioned sharps container should be replaced or corrected before another ampule is opened.
If the ampule shatters
Stop movement first. Warn anyone nearby, keep hands away from the debris, and follow the site's broken-glass response. Don't pick fragments up with fingers, even through ordinary gloves, and don't sweep them casually toward an open waste bin.
Any cut, puncture, splash, or suspected exposure should be reported through the institution's occupational health or incident system. The EDQM material identifies harmful breaking surfaces and ampoule-related injuries as established safety concerns, so an incident shouldn't be dismissed because the wound appears minor.
A complete procedure ends only when the reagent has been assessed, every glass fragment is controlled, the surface is clean, and any injury or exposure has been documented.
Herbilabs supplies research-use laboratory materials, including reconstitution solutions in premium glass vials, for workflows where controlled handling and clear product documentation matter. Visit Herbilabs to review available laboratory supplies and select materials that fit the laboratory's approved sterility, storage, and handling procedures.


