Private Label, White Label, Wholesale partnerships available - EU, USA and UK - Free shipping from €75
Essential Sterile Techniques for Reliable UK Research
Learn the core principles and practical steps for preventing contamination to ensure the integrity and validity of your scientific work.
The Core Principles of Aseptic Practice
In the UK’s competitive research environment, a single contamination event can invalidate months of work and jeopardise significant funding. This is why aseptic technique is not merely a cleaning checklist. It is a proactive methodology designed to prevent microbial contamination from ever occurring. Think of it as the foundational grammar of laboratory science; without it, the entire language of your results becomes meaningless. Reproducible, valid data, the kind that gets published in respected journals, is built upon this unwavering commitment.
To master this, we must first be precise with our terms. Many use ‘sterile’ and ‘disinfected’ interchangeably, but they are fundamentally different. Sterility is an absolute, meaning the complete absence of all living microorganisms. Disinfection, on the other hand, only reduces the number of harmful microbes on a surface. Aseptic practice is the bridge between them; it is the set of actions you take to maintain that initial sterility and prevent contamination from entering your experiment.
This entire process begins not with the equipment, but with you. Just as a surgeon scrubs in before an operation, your personal preparedness is the first line of defence. Correct lab attire, including a clean coat and gloves, combined with thorough hand washing, establishes the initial barrier against contaminants. These are not trivial steps; they are integral to professional sterile lab practices. For more insights into building a foundation of scientific best practices, our blog offers further reading to support your work.
Preparing a Contamination-Proof Workspace
With the core principles understood, the next step is to translate theory into a physical setup. Your workspace is the stage for your experiment, and it must be meticulously prepared for contamination-free research. Begin by removing everything that is not essential for the immediate procedure. Clutter creates unpredictable airflow and provides hiding places for contaminants. Every item on your bench should have a purpose for being there.
Next, decontaminate all surfaces with a lab-grade disinfectant like 70% ethanol. Here is a common but critical mistake: spraying and immediately wiping. Disinfectants require sufficient contact time to work effectively. Allow the solution to sit on the surface for at least 30 seconds before wiping it clean with a sterile cloth. This pause is not wasted time; it is an active part of the sterilisation process.
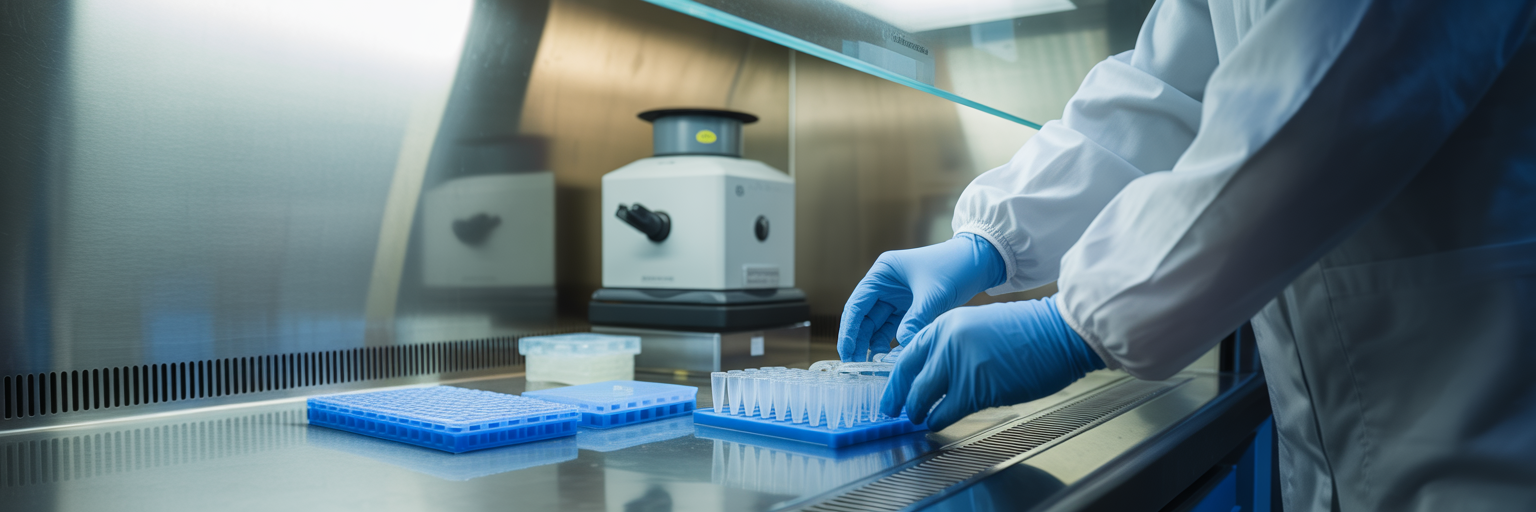
You are now ready to establish a ‘sterile field’, a designated area where only sterile items are placed. For many procedures, the updraft from a Bunsen burner creates a cone of sterile air that pushes airborne contaminants away. For more sensitive applications, a Class II biological safety cabinet provides a continuous curtain of HEPA-filtered air. Within this protected zone, arrange your materials logically to minimise unnecessary movement. A well-organised field ensures you never have to reach over an open sterile container, a simple error that can compromise an entire experiment. Your setup should follow a clear workflow:
- Place waste disposal containers to the side, away from your sterile items.
- Arrange sterile instruments and containers within easy reach.
- Position your primary sample or culture in the most protected part of the field.
Aseptic Handling of Sterile Diluents and Reagents
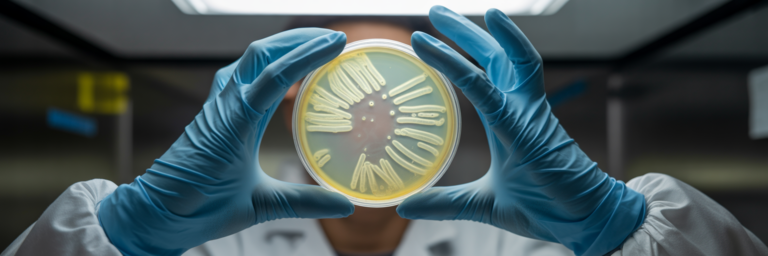
Once your workspace is prepared, your focus shifts to the precise manipulation of sterile materials. This is where your aseptic handling tips are put to the test. Before you even open a package, perform a visual inspection. Check that the seals on vials are intact and that the liquid within is clear and free of particulates. This initial quality check is your first opportunity to prevent a compromised material from entering your workflow.
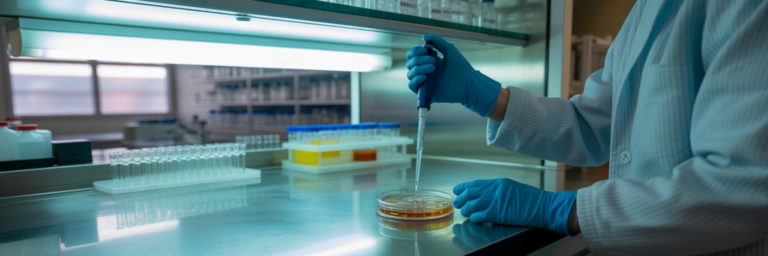
When accessing a sterile vial, follow a deliberate, step-by-step process:
- Disinfect the rubber septum with a fresh, sterile alcohol wipe and, crucially, allow it to air dry completely. Wiping it dry or blowing on it introduces new contaminants.
- Use a new, sterile syringe and needle for each entry. Insert the needle with the bevel facing up at a 45-degree angle to prevent ‘coring’, where a piece of the rubber stopper is pushed into the vial.
- Withdraw the liquid slowly. Pulling the plunger back too quickly can create a vacuum, increasing the risk of airborne contaminants being pulled into the vial when the needle is removed.
- Transfer the diluent to its destination, keeping exposure time to an absolute minimum and ensuring the needle tip never touches a non-sterile surface, including the outer rim of a container.
As highlighted by Biology LibreTexts, a core principle of aseptic technique is minimising the exposure of sterile materials to the non-sterile environment. Every second an item is open is a chance for contamination. Using high-purity diluents, such as our 30ml reconstitution solution, ensures you begin with a reliable and uncontaminated baseline. Finally, never recap a used needle. If you absolutely must, use the one-handed scoop method, but the standard and safest protocol is immediate disposal in a designated sharps bin.
Identifying and Mitigating Common Contamination Risks
Even with perfect technique, contamination can occur. The key is to understand where the risks lie so you can anticipate and mitigate them. These risks generally fall into three categories: environmental, procedural, and material-based. A robust strategy for applying sterile techniques in labs addresses all three.
Procedural errors are the most common and often stem from haste or a momentary lapse in concentration. Slow, deliberate movements are essential. The ‘no-reaching-over’ rule is not just a guideline; it is a strict command to prevent shedding particles from your hands or sleeves into an open container. For material-based risks, the solution is straightforward: source high-purity lab supplies from reputable manufacturers. This is a non-negotiable part of risk management. It eliminates a major variable, allowing you to trust that your reagents are not the source of contamination. A reliable supplier will provide a Certificate of Analysis to verify product purity and sterility, a resource you can often find directly on their website. For example, you can review our Certificates of Analysis to confirm the quality of our products before purchase. This transparency is a hallmark of a trustworthy partner in your research. Once you are confident in the quality, you can explore our full range of supplies.
| Source of Contamination | Common Example | Mitigation Strategy |
|---|---|---|
| Environmental | Airborne fungal spores or bacteria from drafts | Work in a biological safety cabinet; keep lab doors and windows closed. |
| Procedural | Reaching over an open sterile container | Arrange workspace logically; practice slow, deliberate movements. |
| Procedural | Talking, coughing, or sneezing near the sterile field | Wear a face mask; avoid talking during critical steps. |
| Material-Based | Using a diluent with microscopic contaminants | Source supplies from suppliers providing a Certificate of Analysis (CoA). |
| Material-Based | A compromised seal on a sterile vial | Visually inspect all materials for integrity before use. |
Note: This table outlines key risk areas in a typical lab setting. Effective contamination control requires a multi-layered approach addressing all three categories.
Maintaining Sterility During Long-Duration Experiments
While single-session procedures present their own challenges, maintaining sterility over days or weeks, as required in cell culture, is a far greater test of discipline. The risk of contamination does not just add up over time; it grows exponentially. Success in these long-term projects requires specific, dedicated strategies that go beyond basic aseptic handling.
Simple physical barriers can make a significant difference. Sealing culture plates with parafilm helps prevent airborne microbes from entering during incubation. For liquid cultures, the judicious use of antibiotics and antimycotics can suppress low-level bacterial or fungal growth, though this should never be a substitute for good technique. Regular microscopic checks are non-negotiable, allowing you to spot the early signs of contamination before an entire experiment is lost. Your equipment also plays a critical role. A well-maintained incubator, particularly one with features like a copper-lined interior or a high-temperature decontamination cycle, provides a much more secure environment for long-term work.
Ultimately, the success of any long-duration experiment is determined long before the first incubation period. It is decided the moment you choose your starting materials. Beginning with impeccably pure reagents and diluents provides the strongest possible foundation for achieving contamination-free research from start to finish. This commitment to quality is the principle upon which Herbilabs Labware was founded, ensuring your work is built on a bedrock of reliability.