Private Label, White Label, Wholesale partnerships available - EU, USA and UK - Free shipping from €75
A Practical Guide to Selecting Reagent Reconstitution Solutions
Discover the essential factors and techniques for properly dissolving research reagents to avoid common errors and achieve reliable results.
The ongoing conversation about scientific reproducibility often focuses on complex experimental designs or statistical analysis. Yet, many inconsistencies begin with a step that feels almost routine: reagent preparation. That sinking feeling when a key experiment fails can sometimes be traced back to a simple vial of powder that was dissolved incorrectly. Reagent reconstitution is not just a task to be checked off a list; it is a critical control point for experimental integrity.
At its core, reconstitution is the process of dissolving a lyophilized (freeze-dried) or concentrated substance to achieve a precise, active concentration for use in an experiment. The challenge lies in the details. The wrong solvent, an unsuitable pH, or improper handling can irreversibly damage expensive and sensitive reagents. This can lead to outcomes like precipitation, where the compound falls out of solution, or degradation, where its chemical structure is compromised. The result is the same: wasted time, squandered resources, and ultimately, invalid data.
While the manufacturer’s datasheet should always be your first point of reference, a deeper understanding of the underlying principles is essential for troubleshooting when things go wrong. Following a well-defined reagent reconstitution protocol is about more than just procedure; it is about safeguarding your results from the very beginning. This includes practices like maintaining a detailed lab notebook to track every step. The assumption that a single approach works for all reagents is a primary source of error, which is why selecting the right solvent is the foundational next step.
Matching Solvents to Solutes
Building on the principle that no single method fits all reagents, the choice of solvent is dictated almost entirely by the chemical properties of the solute, specifically its polarity. Think of it like trying to mix oil and water; some molecules are hydrophilic (water-loving) while others are hydrophobic (water-fearing). Forcing them into the wrong environment is a recipe for failure.
Aqueous Buffers for Hydrophilic Molecules
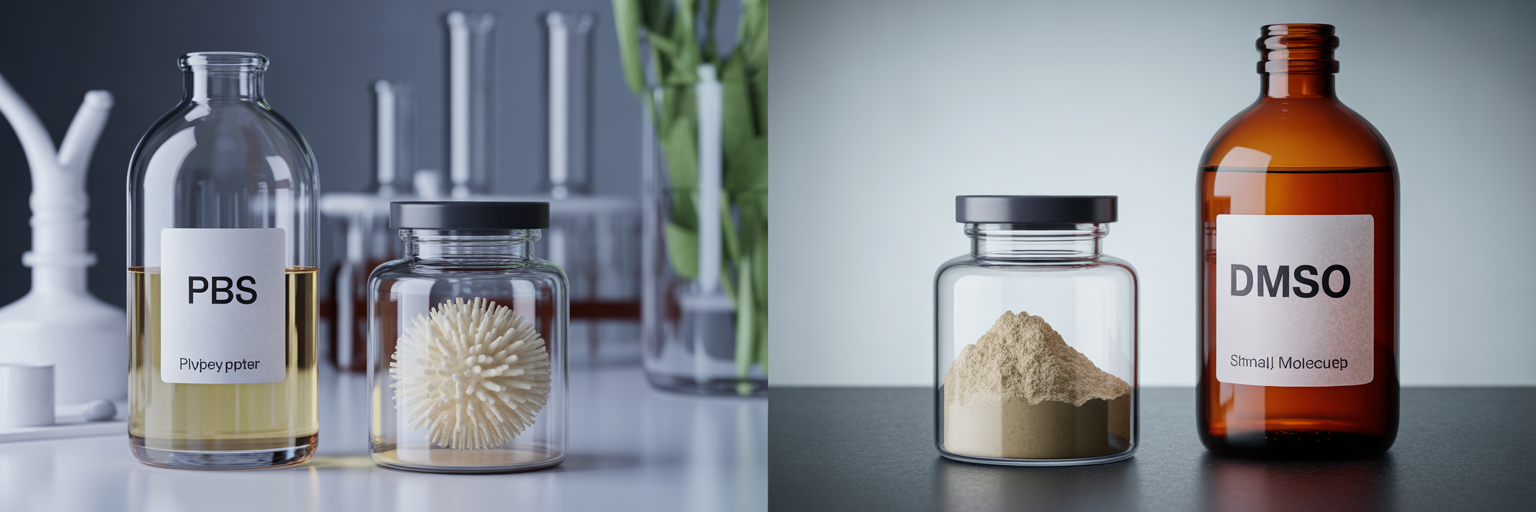
For most proteins, antibodies, and peptides, the goal is to create an environment that mimics their natural physiological state. This is where aqueous buffers like Phosphate-Buffered Saline (PBS) or Tris-Buffered Saline (TBS) are indispensable. These solutions are more than just sterile water; they are formulated to maintain a stable pH and ionic strength, which helps preserve the molecule’s three-dimensional structure and biological activity. Using a dedicated protein reconstitution solution is often the safest bet to ensure these delicate molecules remain folded and functional.
Organic Solvents for Hydrophobic Compounds
In contrast, many small molecules used in drug discovery and cell signalling studies are hydrophobic. Attempting to dissolve them in water is often futile, resulting in a useless suspension of powder. For these compounds, organic solvents are necessary. Dimethyl sulfoxide (DMSO) and ethanol are common choices because their chemical nature allows them to effectively solvate nonpolar molecules. They break the intermolecular forces holding the powder together, allowing it to dissolve into a clear, usable stock solution.
Using Co-solvents and Serial Dilutions
What happens when your final experiment is in an aqueous system, like cell culture, but your compound only dissolves in an organic solvent? This is where co-solvents and serial dilutions become essential. The standard practice is to first create a highly concentrated stock solution in a pure organic solvent like DMSO. Then, this stock is serially diluted into your aqueous buffer or cell culture medium to reach the final working concentration. However, a strong word of caution is needed here. The use of DMSO for cell culture requires careful management, as it can be toxic to cells at concentrations typically above 0.5%. Always calculate your dilutions to ensure the final organic solvent concentration is minimal and non-toxic to your experimental system. For researchers looking to streamline this process, a range of high-quality reconstitution solutions are available for various applications.
| Solvent | Primary Solute Type | Common Applications | Key Considerations |
|---|---|---|---|
| Sterile Water (Nuclease-Free) | DNA, RNA, some peptides | Molecular biology, PCR, sequencing | Must be nuclease-free to prevent degradation. |
| Phosphate-Buffered Saline (PBS) | Proteins, antibodies, peptides | Cell culture, immunoassays (ELISA, Western Blot) | Mimics physiological pH and ionic strength. |
| Tris-Buffered Saline (TBS) | Proteins, antibodies | Western Blotting, immunohistochemistry | Similar to PBS but avoids interference with phosphate-sensitive enzymes. |
| Dimethyl Sulfoxide (DMSO) | Hydrophobic small molecules, some peptides | High-throughput screening, cell-based assays | Highly effective solvent but can be toxic to cells at >0.5% concentration. |
| Ethanol (EtOH) | Small organic compounds, plant extracts | Phytochemical analysis, compound storage | Volatile and can precipitate some salts from buffers. |
Critical Factors Influencing Reagent Stability
Successfully dissolving a reagent is only half the battle. Once in solution, many molecules become far less stable than they were in their powdered form. The focus must then shift from initial solubility to maintaining the long-term integrity of the reconstituted stock. Several factors come into play here, each capable of silently undermining your future experiments if ignored.
The Role of pH in Solubility and Activity
The pH of your solution is not a trivial detail; it directly influences a molecule’s charge and, consequently, its structure and solubility. For proteins, this is especially critical. Most proteins have a narrow optimal pH range where they maintain their native conformation and biological activity. If the pH of the buffer is too acidic or too alkaline, the protein can denature, unfolding like a tangled string and losing its function. This is why buffered solutions are standard practice, as they resist pH shifts and provide a stable chemical environment.
The Mandate for Sterility
For any work involving cell culture or in vivo studies, sterility is non-negotiable. Introducing microbial contamination can have disastrous consequences, from killing your cell lines to confounding your experimental results. This is where sterile reconstitution techniques become paramount. This means working in a laminar flow hood, using sterile-filtered buffers, and employing aseptic handling to prevent contamination. Every pipette tip, tube, and solution that comes into contact with your reagent must be sterile. There is no room for compromise on this point.
Long-Term Storage and Shelf Life
Once reconstituted, your reagent is on a clock. To extend its shelf life, proper storage is essential. According to guidance from Creative Biolabs, storage conditions must be tailored to the specific molecule. Some reagents are stable for weeks at 4°C, while others require immediate freezing at -20°C or even -80°C to prevent degradation. It is also important to remember that repeated freeze-thaw cycles are a primary enemy of many proteins and peptides, as the formation of ice crystals can physically damage their structure. Key factors to control for long-term stability include:
- Optimal pH range to maintain structure and activity.
- Sterility and aseptic handling to prevent microbial growth.
- Correct storage temperature (4°C, -20°C, or -80°C) as specified by the manufacturer.
- Protection from light for photosensitive compounds, often by using amber vials or wrapping tubes in foil.
- Use of stabilizers or cryoprotectants like glycerol or Bovine Serum Albumin (BSA) to protect molecules during freezing.
- Minimizing freeze-thaw cycles by aliquoting stock solutions into single-use volumes.
Application-Specific Reconstitution Strategies
While the general principles of solubility and stability apply broadly, different research fields present unique challenges that demand tailored reconstitution strategies. Applying these principles to specific contexts is what separates routine work from robust, reproducible science. Instead of a one-size-fits-all approach, consider the specific needs of your application.
For proteomics and antibody-based assays like ELISA or Western blotting, the primary concern is preserving the native conformation of the protein. This means gentle handling is key. Avoid vigorous vortexing, which can cause shear stress and denaturation. Instead, opt for gentle swirling or inversion to mix. When considering how to dissolve peptides or proteins, slow rehydration by letting the vial sit with the buffer for a few minutes before mixing can also improve solubility without damaging the molecule.
In cell-based assays, the central challenge is balancing solubility with cytotoxicity. As mentioned earlier, organic solvents like DMSO are excellent for dissolving hydrophobic compounds but can be toxic to cells. The goal is to use the absolute minimum concentration of DMSO required to keep your compound in solution in the final culture medium. For sensitive experiments, using a high-purity reconstitution solution specifically designed for cell-based work can provide a reliable and sterile foundation, minimizing variables that could affect cell health.
For high-throughput small molecule screening, logistics and consistency are paramount. The standard workflow involves creating high-concentration stock plates, often in 96-well or 384-well formats, with each compound dissolved in DMSO. These master plates are then used by robotic systems to dispense tiny volumes into assay plates. Here, ensuring complete dissolution and accurate concentration across every well is critical for data quality. Any precipitation in the stock plate can lead to false negatives down the line.
Finally, when working with nucleic acids like DNA and RNA, the main threat is enzymatic degradation from nucleases. These enzymes are ubiquitous in the environment and can rapidly chew up your precious samples. For this reason, reconstitution should always be done with certified nuclease-free water or a buffer like TE (Tris-EDTA), which contains EDTA to chelate the magnesium ions required for nuclease activity.
Best Practices for Accurate and Reproducible Results

With a clear understanding of the principles and application-specific needs, the final step is to execute the physical reconstitution technique with precision and care. This is where theory meets practice. Following a consistent, methodical process minimizes variability and ensures that your reagent is prepared correctly every single time.
A reliable reconstitution workflow can be broken down into a few simple but critical steps:
- Collect the powder. Before opening the vial, briefly centrifuge it at a low speed. This ensures that all the lyophilized powder, which can become statically charged and coat the walls and cap, is collected at the bottom of the vial. This simple action prevents loss of material and ensures your final concentration is accurate.
- Add the solvent carefully. Using a calibrated pipette, add the specified volume of the correct solvent. To avoid splashing or aerosolizing the powder, gently dispense the liquid down the side of the vial rather than directly onto the powder.
- Mix appropriately. The mixing method depends on the molecule’s sensitivity. For robust small molecules, a brief vortex may be acceptable. For sensitive proteins and peptides, gentle swirling, inversion, or slowly pipetting the solution up and down is the preferred method to ensure dissolution without causing damage.
Once your reagent is fully dissolved, the work is not quite done. The single most effective way to prevent degradation from repeated freeze-thaw cycles is to aliquot the stock solution into single-use volumes. This means dividing the stock into smaller tubes, each containing enough material for one experiment. This practice also minimizes the risk of contaminating your entire stock. For labs that value efficiency, purchasing pre-packaged, single-use volumes of common buffers can save time and reduce potential errors.
Finally, meticulous documentation is crucial. Label each aliquot clearly with the reagent name, concentration, date, and solvent used. If you encounter a problem, such as unexpected precipitates or poor reagent performance, your first step should be to review your protocol. Sometimes, precipitates can be redissolved with gentle warming or brief sonication, but this depends on the compound’s stability. If performance is still poor, the issue may lie in choosing a reconstitution buffer with the wrong pH or components, prompting a return to the foundational principles to troubleshoot effectively.